Ever wondered how to cook with coconut or cassava flour? The key is to combine them!
Just recently I got very excited because I learned how to make coconut flour. Very simple. I took raw fresh mature coconuts and made coconut milk. Then with the pulp, finely ground and strained from the milk, I made flour by toasting out the excess moisture and grinding it to almost a powder. After that I promptly made cookies. And honestly they really sucked. They were rated 0. by the love of my life. This only made me laugh, as I agreed with him, these were the driest most crumbly (crummy) cookies I’d ever made. The problem was the flour. Coconut flour is SO DRY. It needs to be combined with either a boat load of eggs, lots of oil, and/or other flour to temper its dryness. This I learned with my second batch, which were MUCH better.
Cassava flour on the other hand, is the world’s chewiest (that is, starchiest) substance on earth. Molecularly, in the natural world, you cannot find a starchier substance than cassava. So as a wheat-gluten alternative to baking it really rocks. But for most baking recipes, it needs to be combined with other flours–unless you are making cassava mochi. A testimony to its chewiness… I recently tried making cassava tortillas using exclusively cassava flour, and while the flavor was exceptionally good, the chewing involved felt like a marathon. I just wanted the tortillas to break down faster in my mouth, but they wouldn’t! Such is the power of cassava starch.
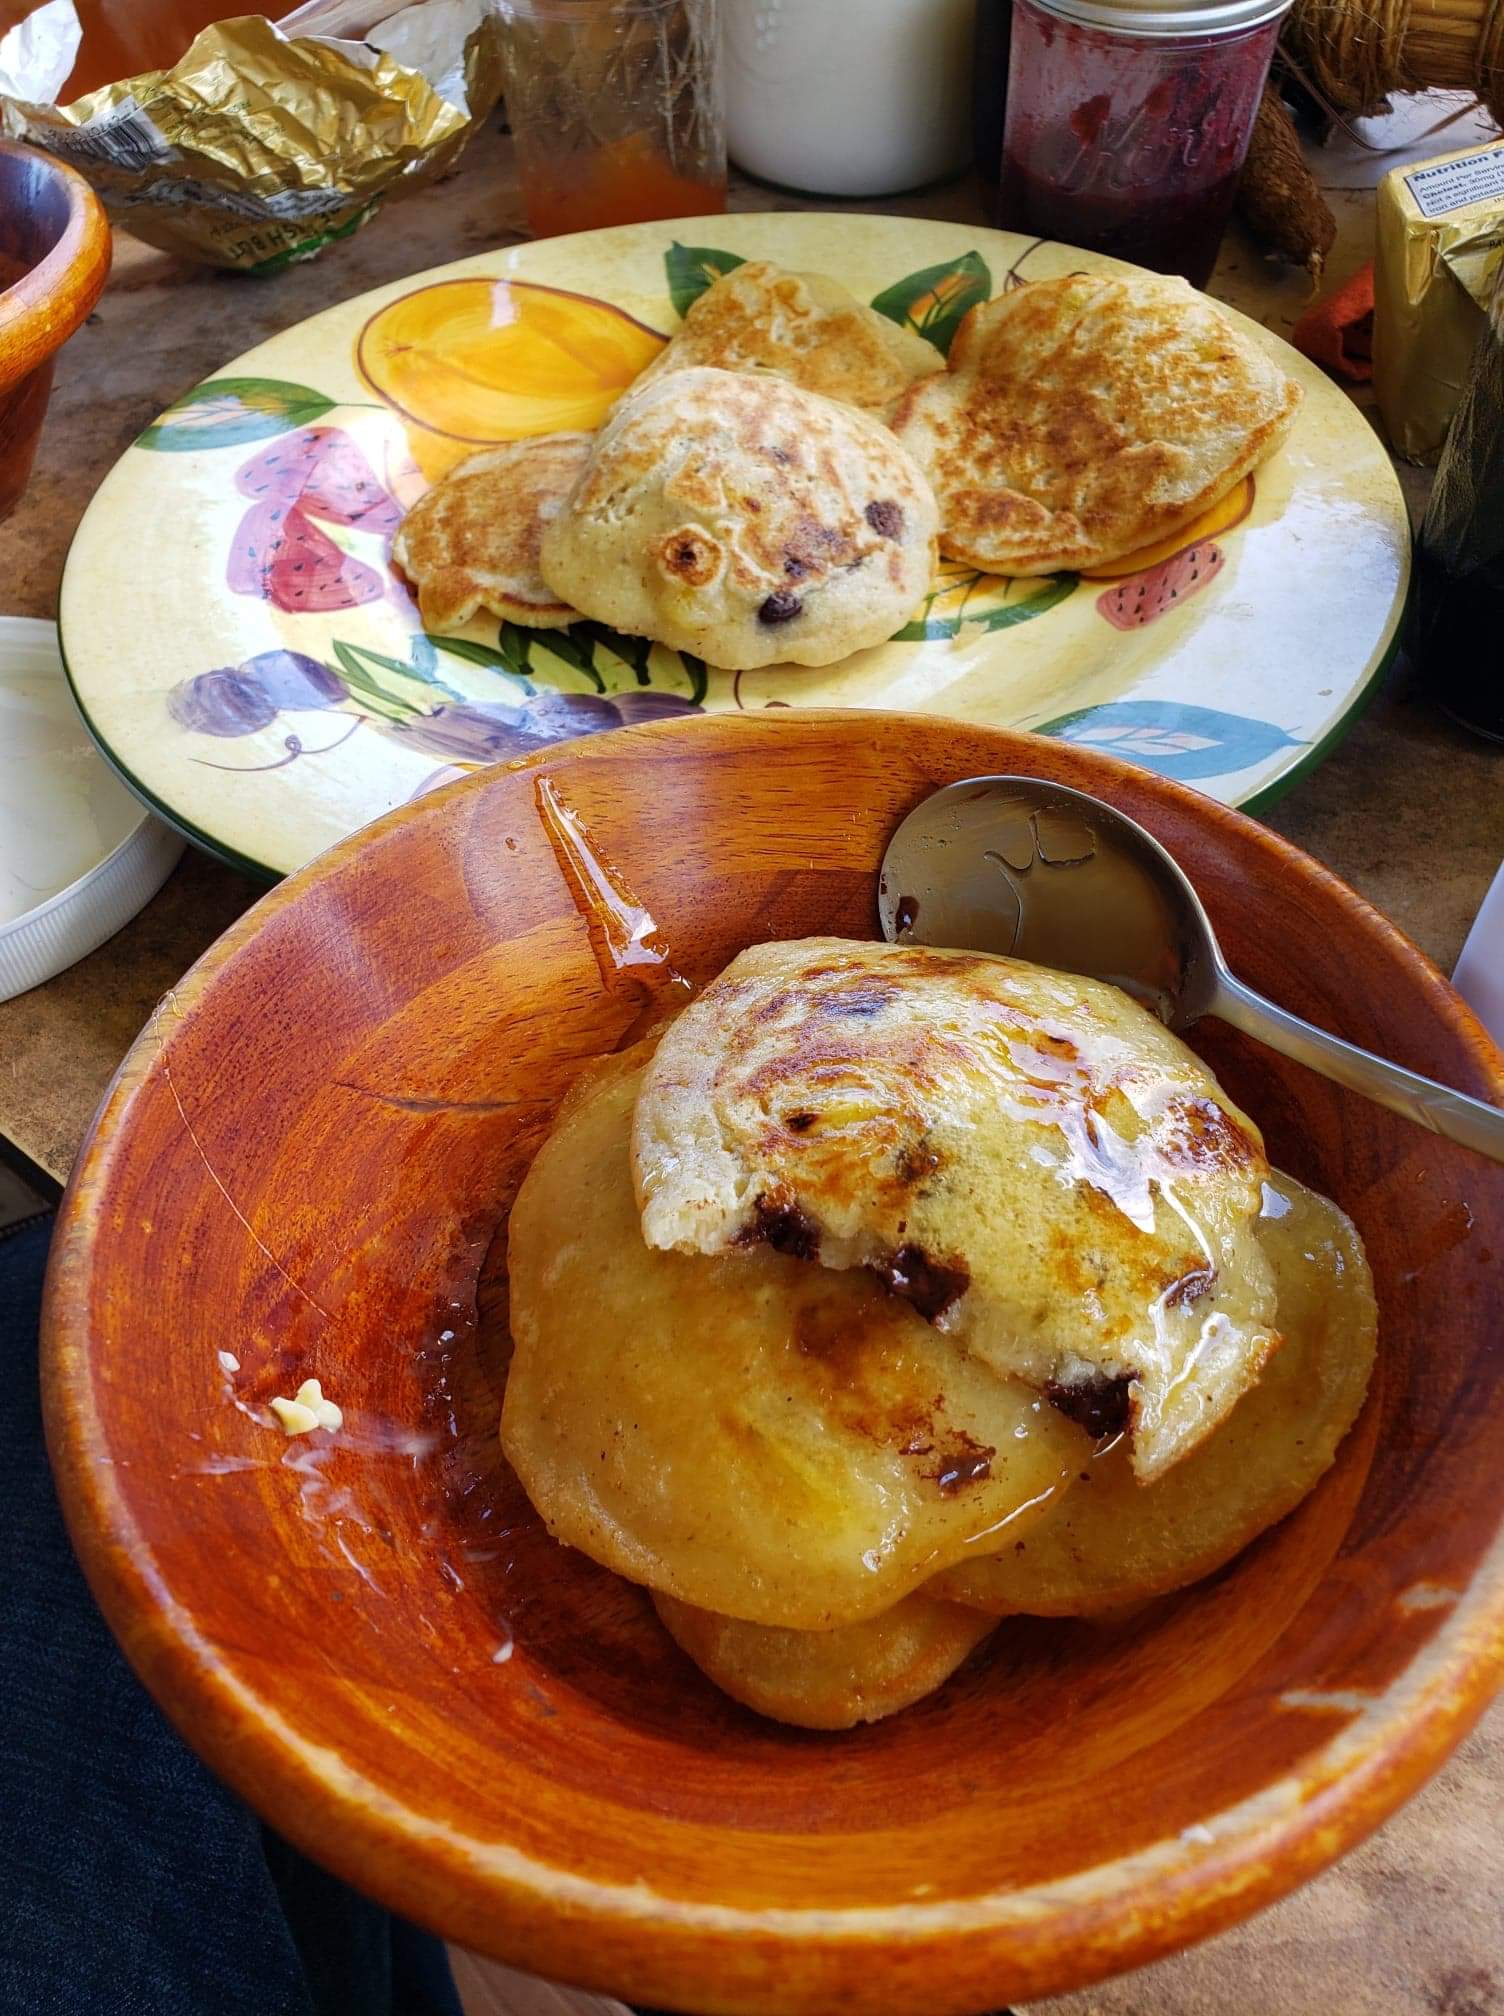
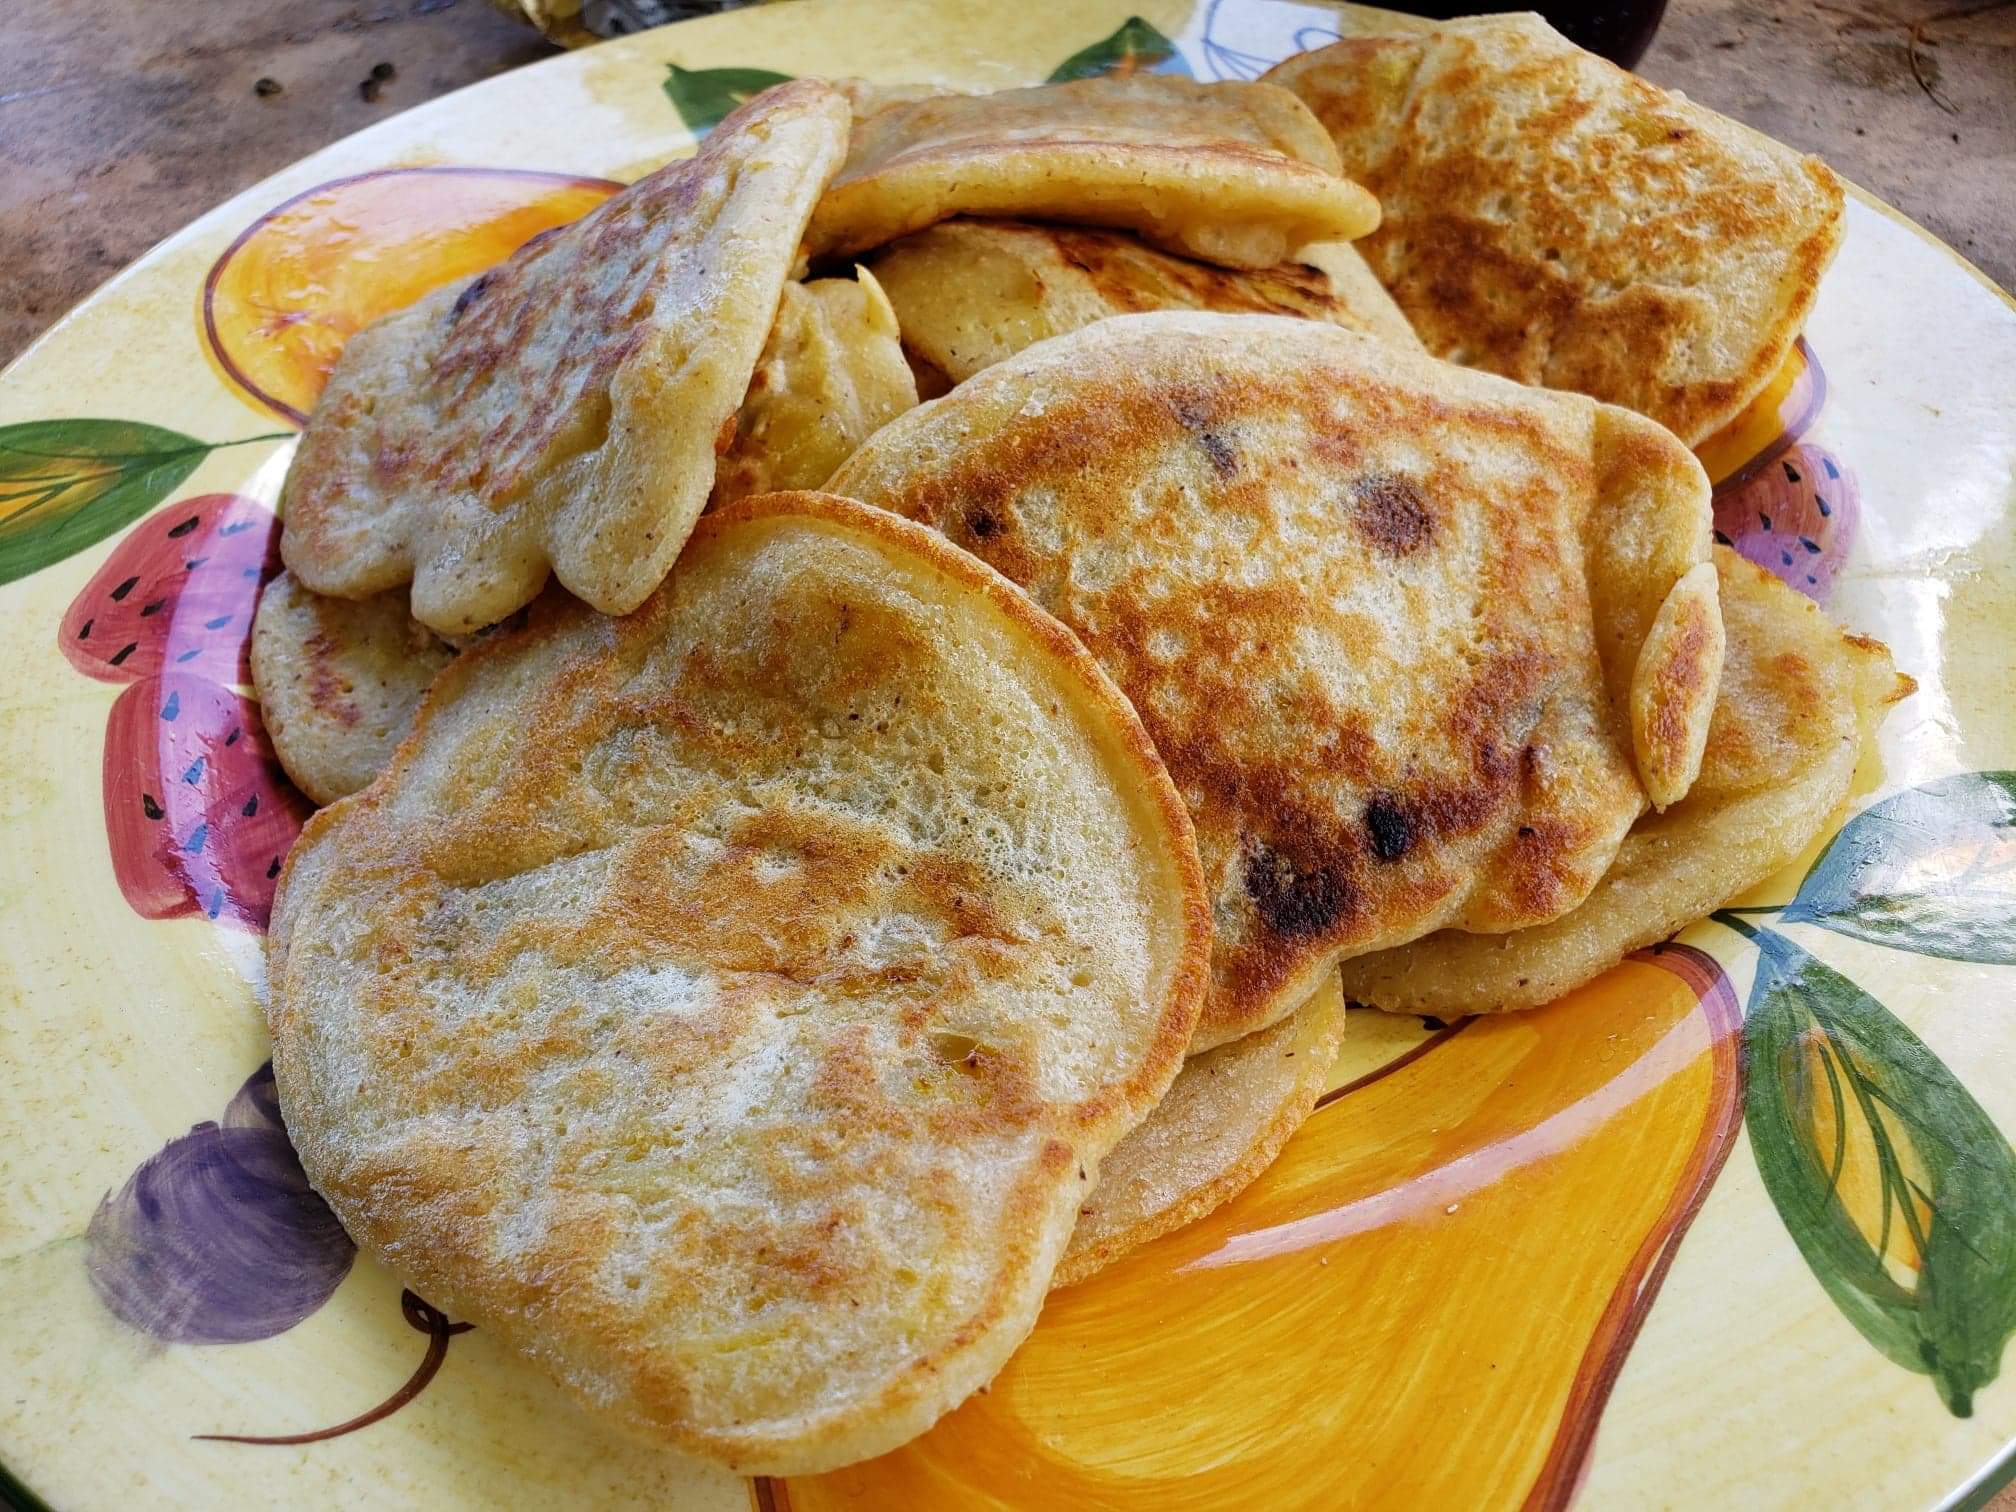
Yet, when you combine the dry coconut flour with the chewy cassava flour in the right ratio, you get a truly well balanced flour. These pancakes for which recipe I am sharing were seriously some of the best cakes I’ve made. Furthermore I am stoked because these two plants (coconuts and cassava) grow right outside the door, happily, in the same micro-climate/environment. They were destined to be married…
I’ve gone over the procedure for growing and making cassava flour as well as coconut milk in another blog recipe titled COCONUT CASSAVA CAKE, so now I’ll talk about coconut flour.
What’s easy about it.
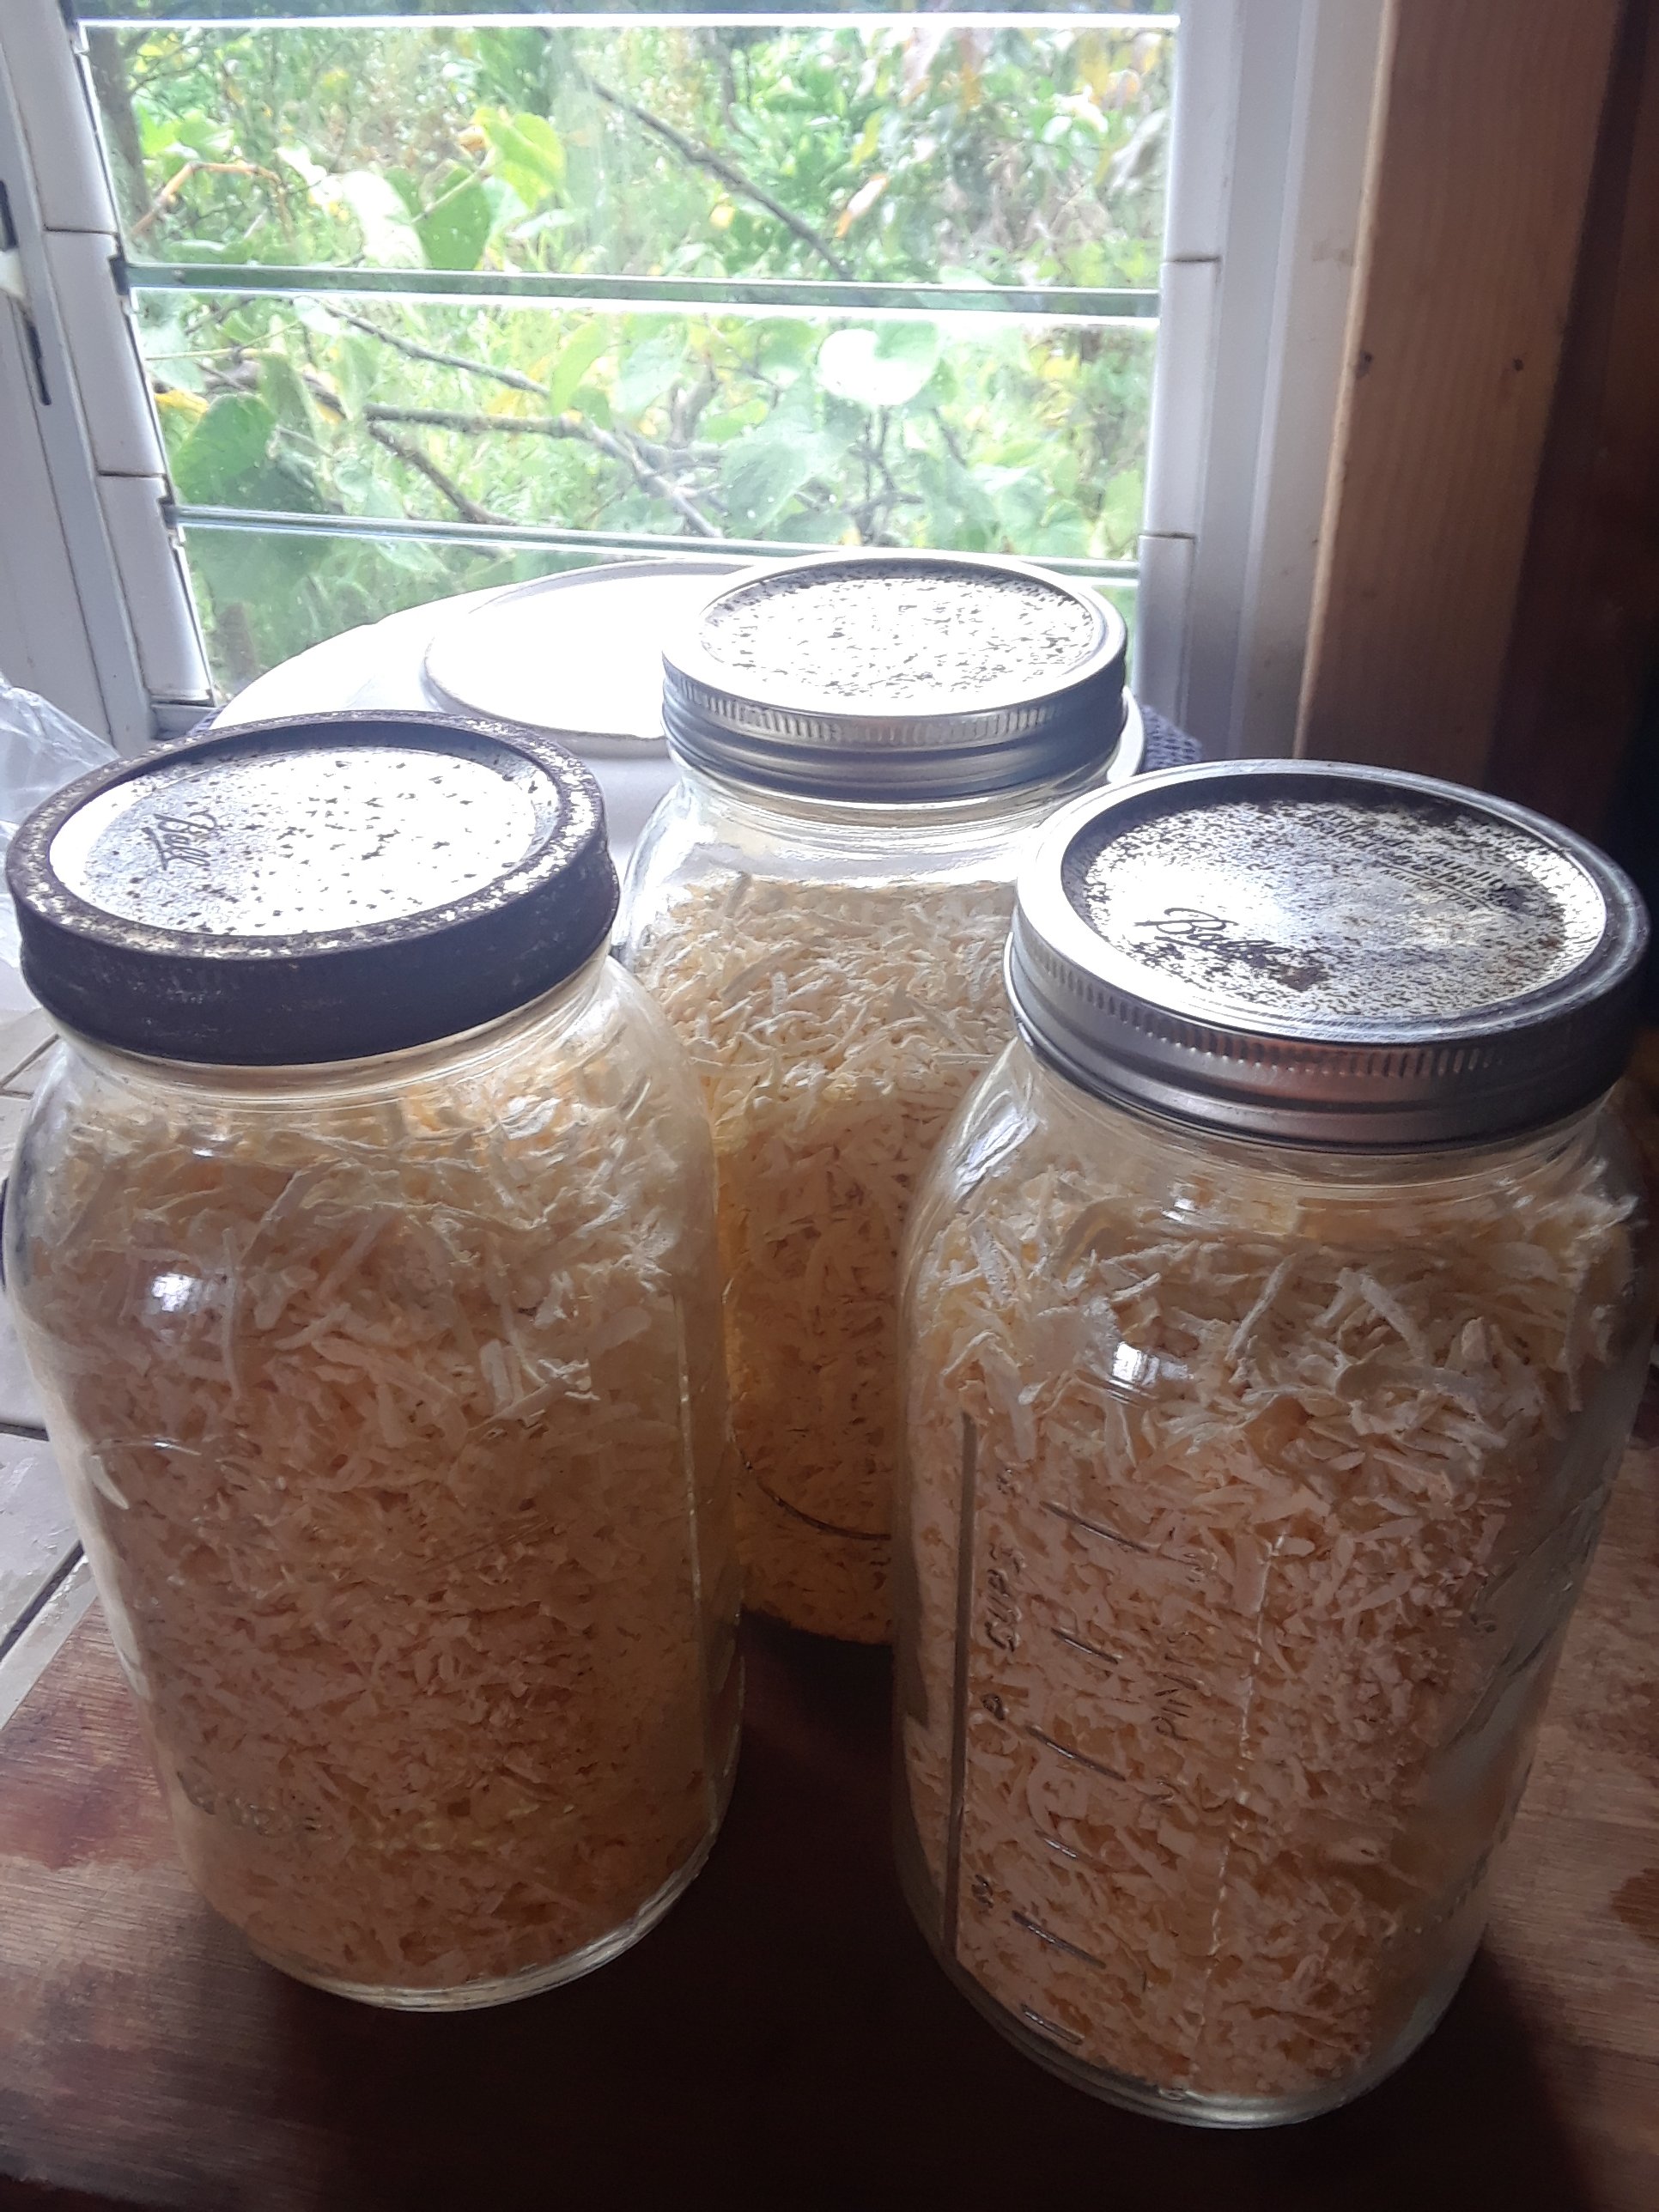
It’s a byproduct of making coconut milk, oil, or cream. So whenever you make these you can also make flour. It takes a bit of time, but, hey, since you’re already spending time and energy husking, scooping and grinding coconut meat for for milk, a little extra work doesn’t seem like much.
What is potentially challenging.
In order to make a shelf stable product you really have to cook the heck out of your coconut grinds. Get ALL the water out. Otherwise, the flour will go rancid sooner than later, and this sucks.
A note for simplicity or laziness
If you’re not into making milk but you do want to make flour, but you don’t want to start from a whole coconut, you can purchase dried coconut flakes at the store and grind them into flour at home. The cost effectiveness of this, I have no idea. I suppose it depends on where in the world you reside. For some, buying whole coconuts is not an option or is too expensive. In most places, even Hawaii, coconut flour at the store is very expensive, so starting from scratch (from the whole coconut) can be cost-effective. If you go the route of buying coconut flakes from the store there is probably no need to cook them to get moisture out, so simple proceed to grinding. Or, if you’re happy buying coconut flour as is, proceed to pancake recipe.
Otherwise, the instructions for making coco flour are as follows.
- Make coconut milk. Grind mature coconut meat to a fine pulp. Use either the coconut water or just plain water. (For basic measurements see Coconut Cassava Cake Recipe or just use your intuition and listen to the blender)
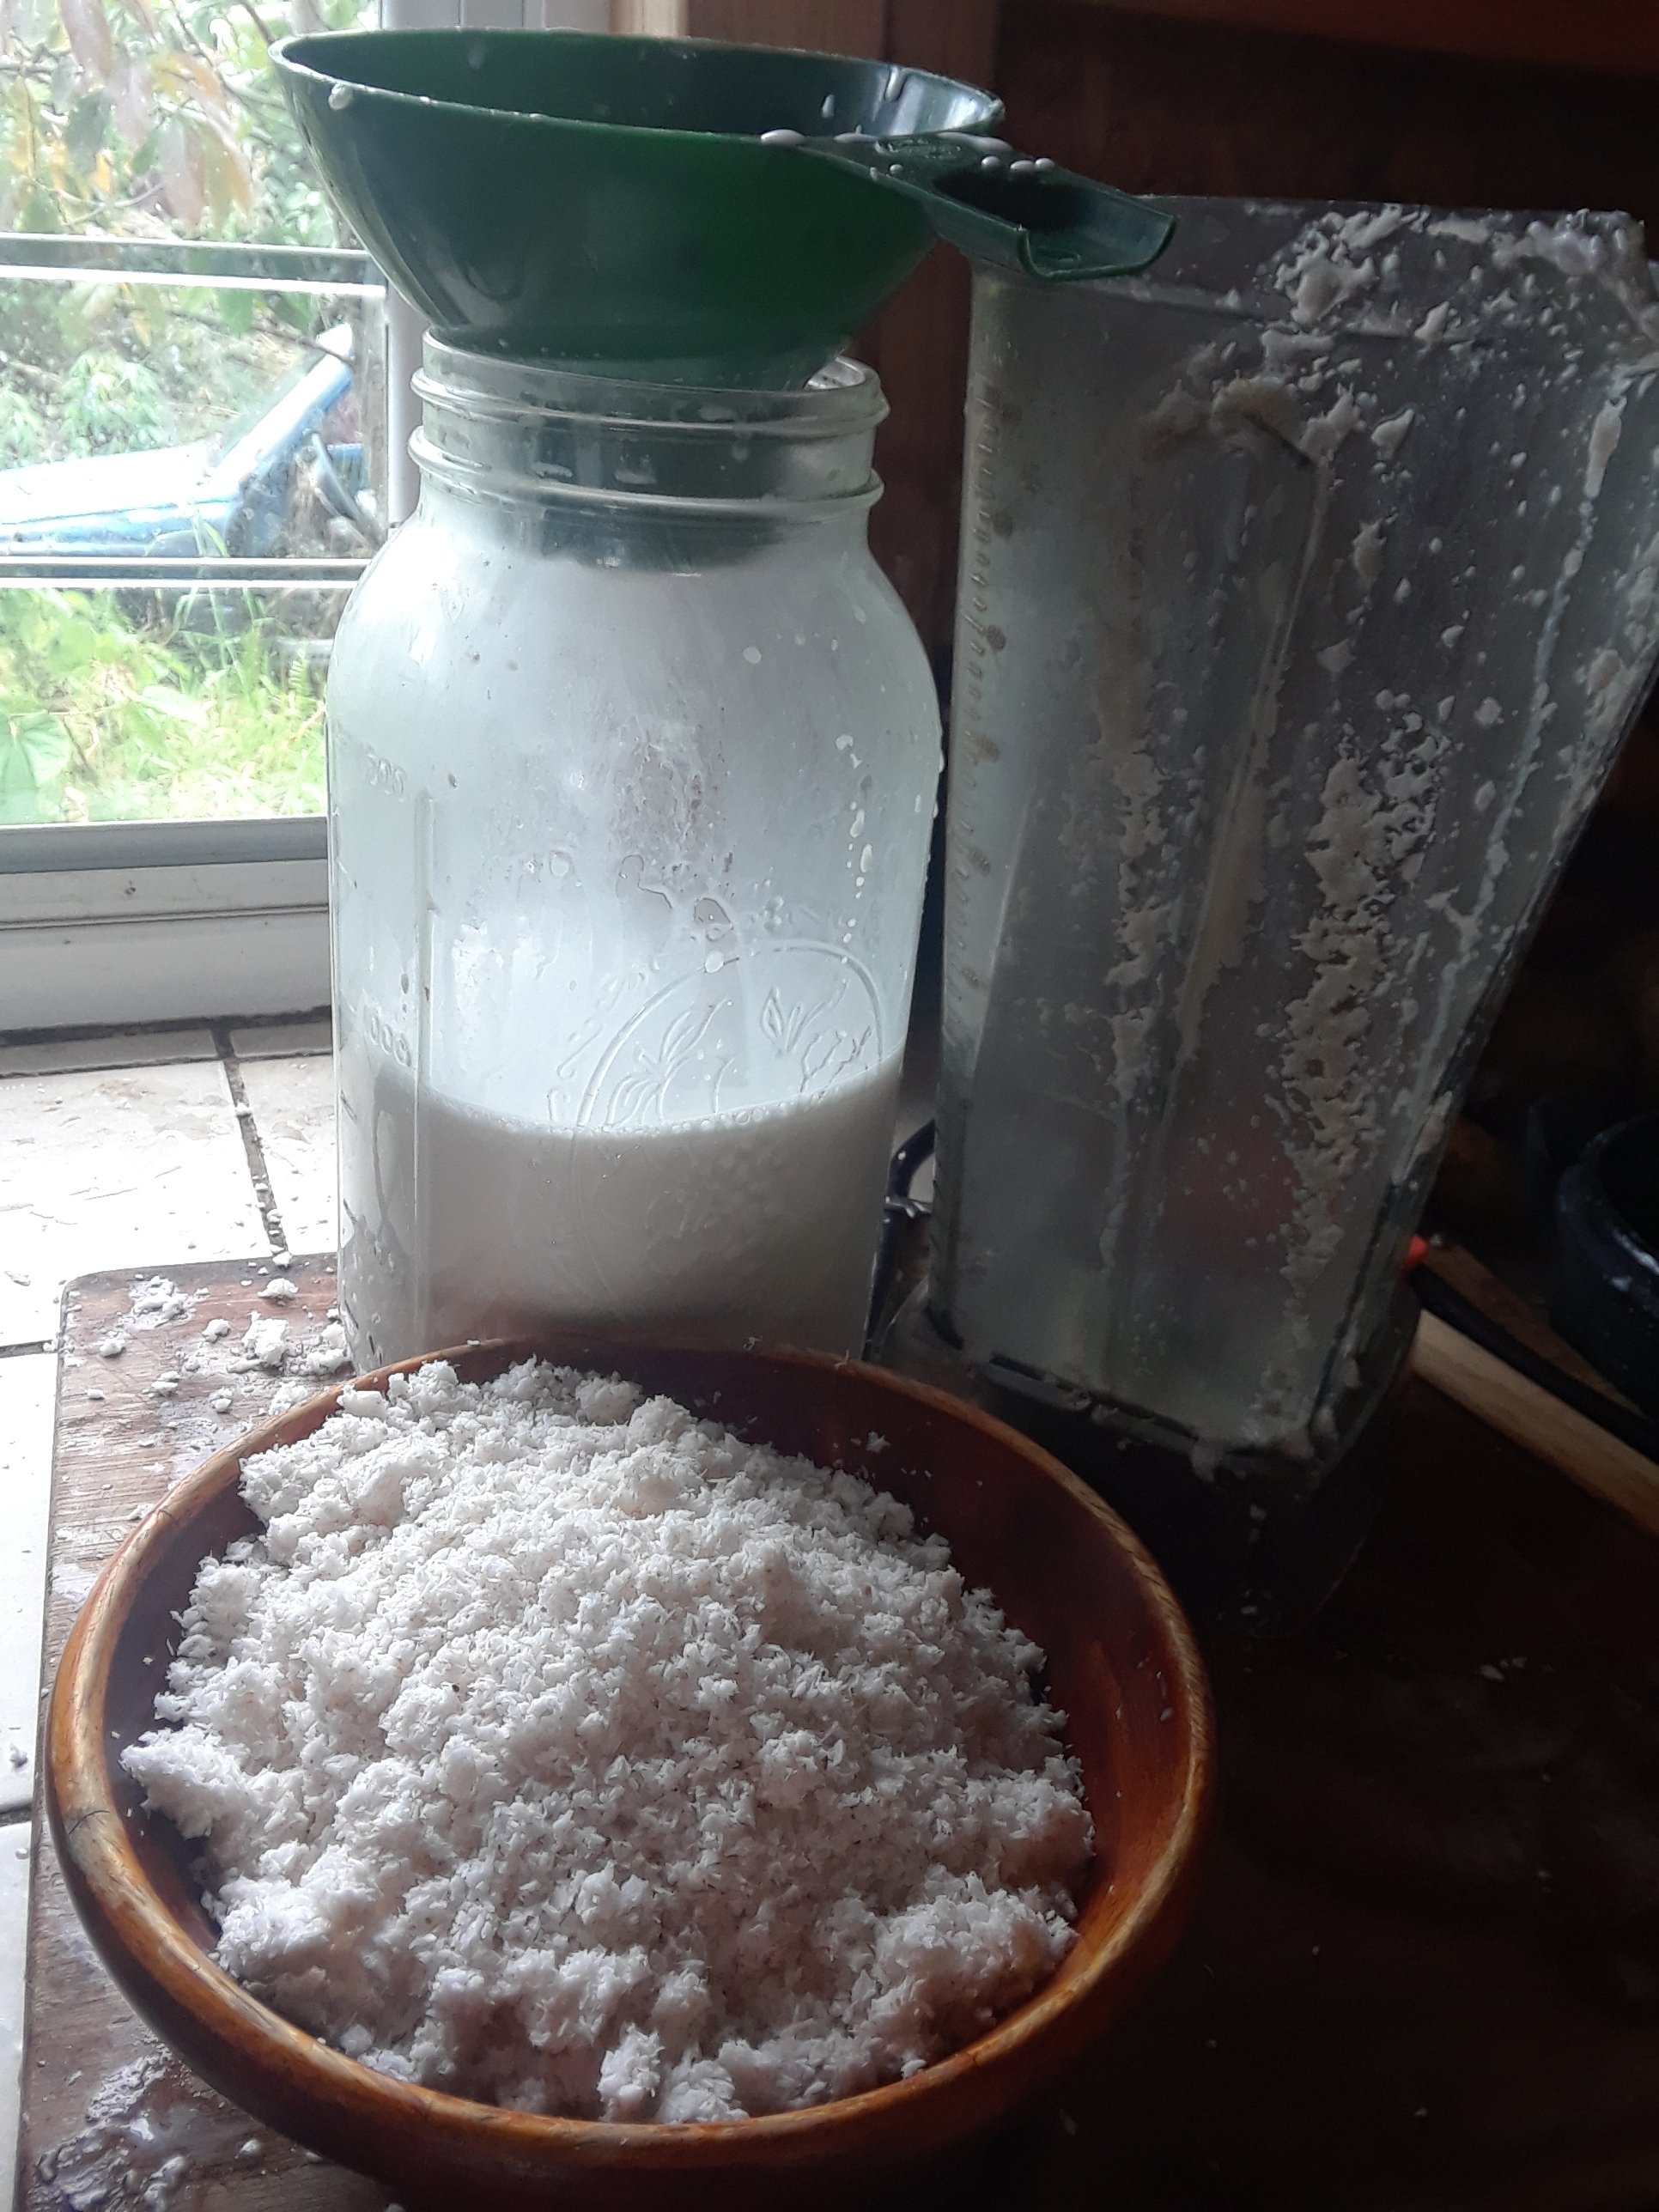
- Strain liquid from solids. Use a nut bag (a T-shirt works too) and squeeze out every last drop of milk you can muster.
- Remove grinds from nut bag and place on a baking sheet. (If you have parchment paper you can line the sheet and avoid potential sticking.) Cook 45 minutes at 120F (50C), or until the coconut is dry and there is no moisture left. Allow to cool.
- Alternative method for ovenless folks. Toast grinds in a frying pan on medium heat and stir continually to avoid burning. Toast for 30 mins or until you see an absence of water vapor. Just to be safe: STORE IN THE REFRIGERATOR.
And there you have it. Now, a word on sourdough…
Pancakes are dear to me, especially a well cultured, soured cake. I love the taste of wild yeast risen pancakes, plus the health benefits. Simply explained, the process of fermenting grains, legumes, nuts and tubers breaks down the hard plant proteins as well as plant lectins (toxins) and unlocks nutrients so that one can more effectively digest and absorb them. (To read and understand more on this subject, as well as learn how to catch a sourdough starter, see the PA’I’AI PANCAKE post.) Another perk is that if you have a vigorous wild yeast starter there is no need to add baking powder or soda for leavening. This the microorganisms will do as they naturally breathe. It’s pretty cool. It’s the ancient way.
PANCAKES
Ingredients:
- 1 cup sourdough starter
- 2 cups cassava flour
- 1 cup coconut flour
- 1 egg
- 1 teaspoon salt
- 2 Tablespoons oil
- Water (as much as you need to make pancake batter consistency)
- 2 or 3 bananas (optional, but most delicious)
- 1 handful of chocolate chips (also optional and delicious)
Steps.
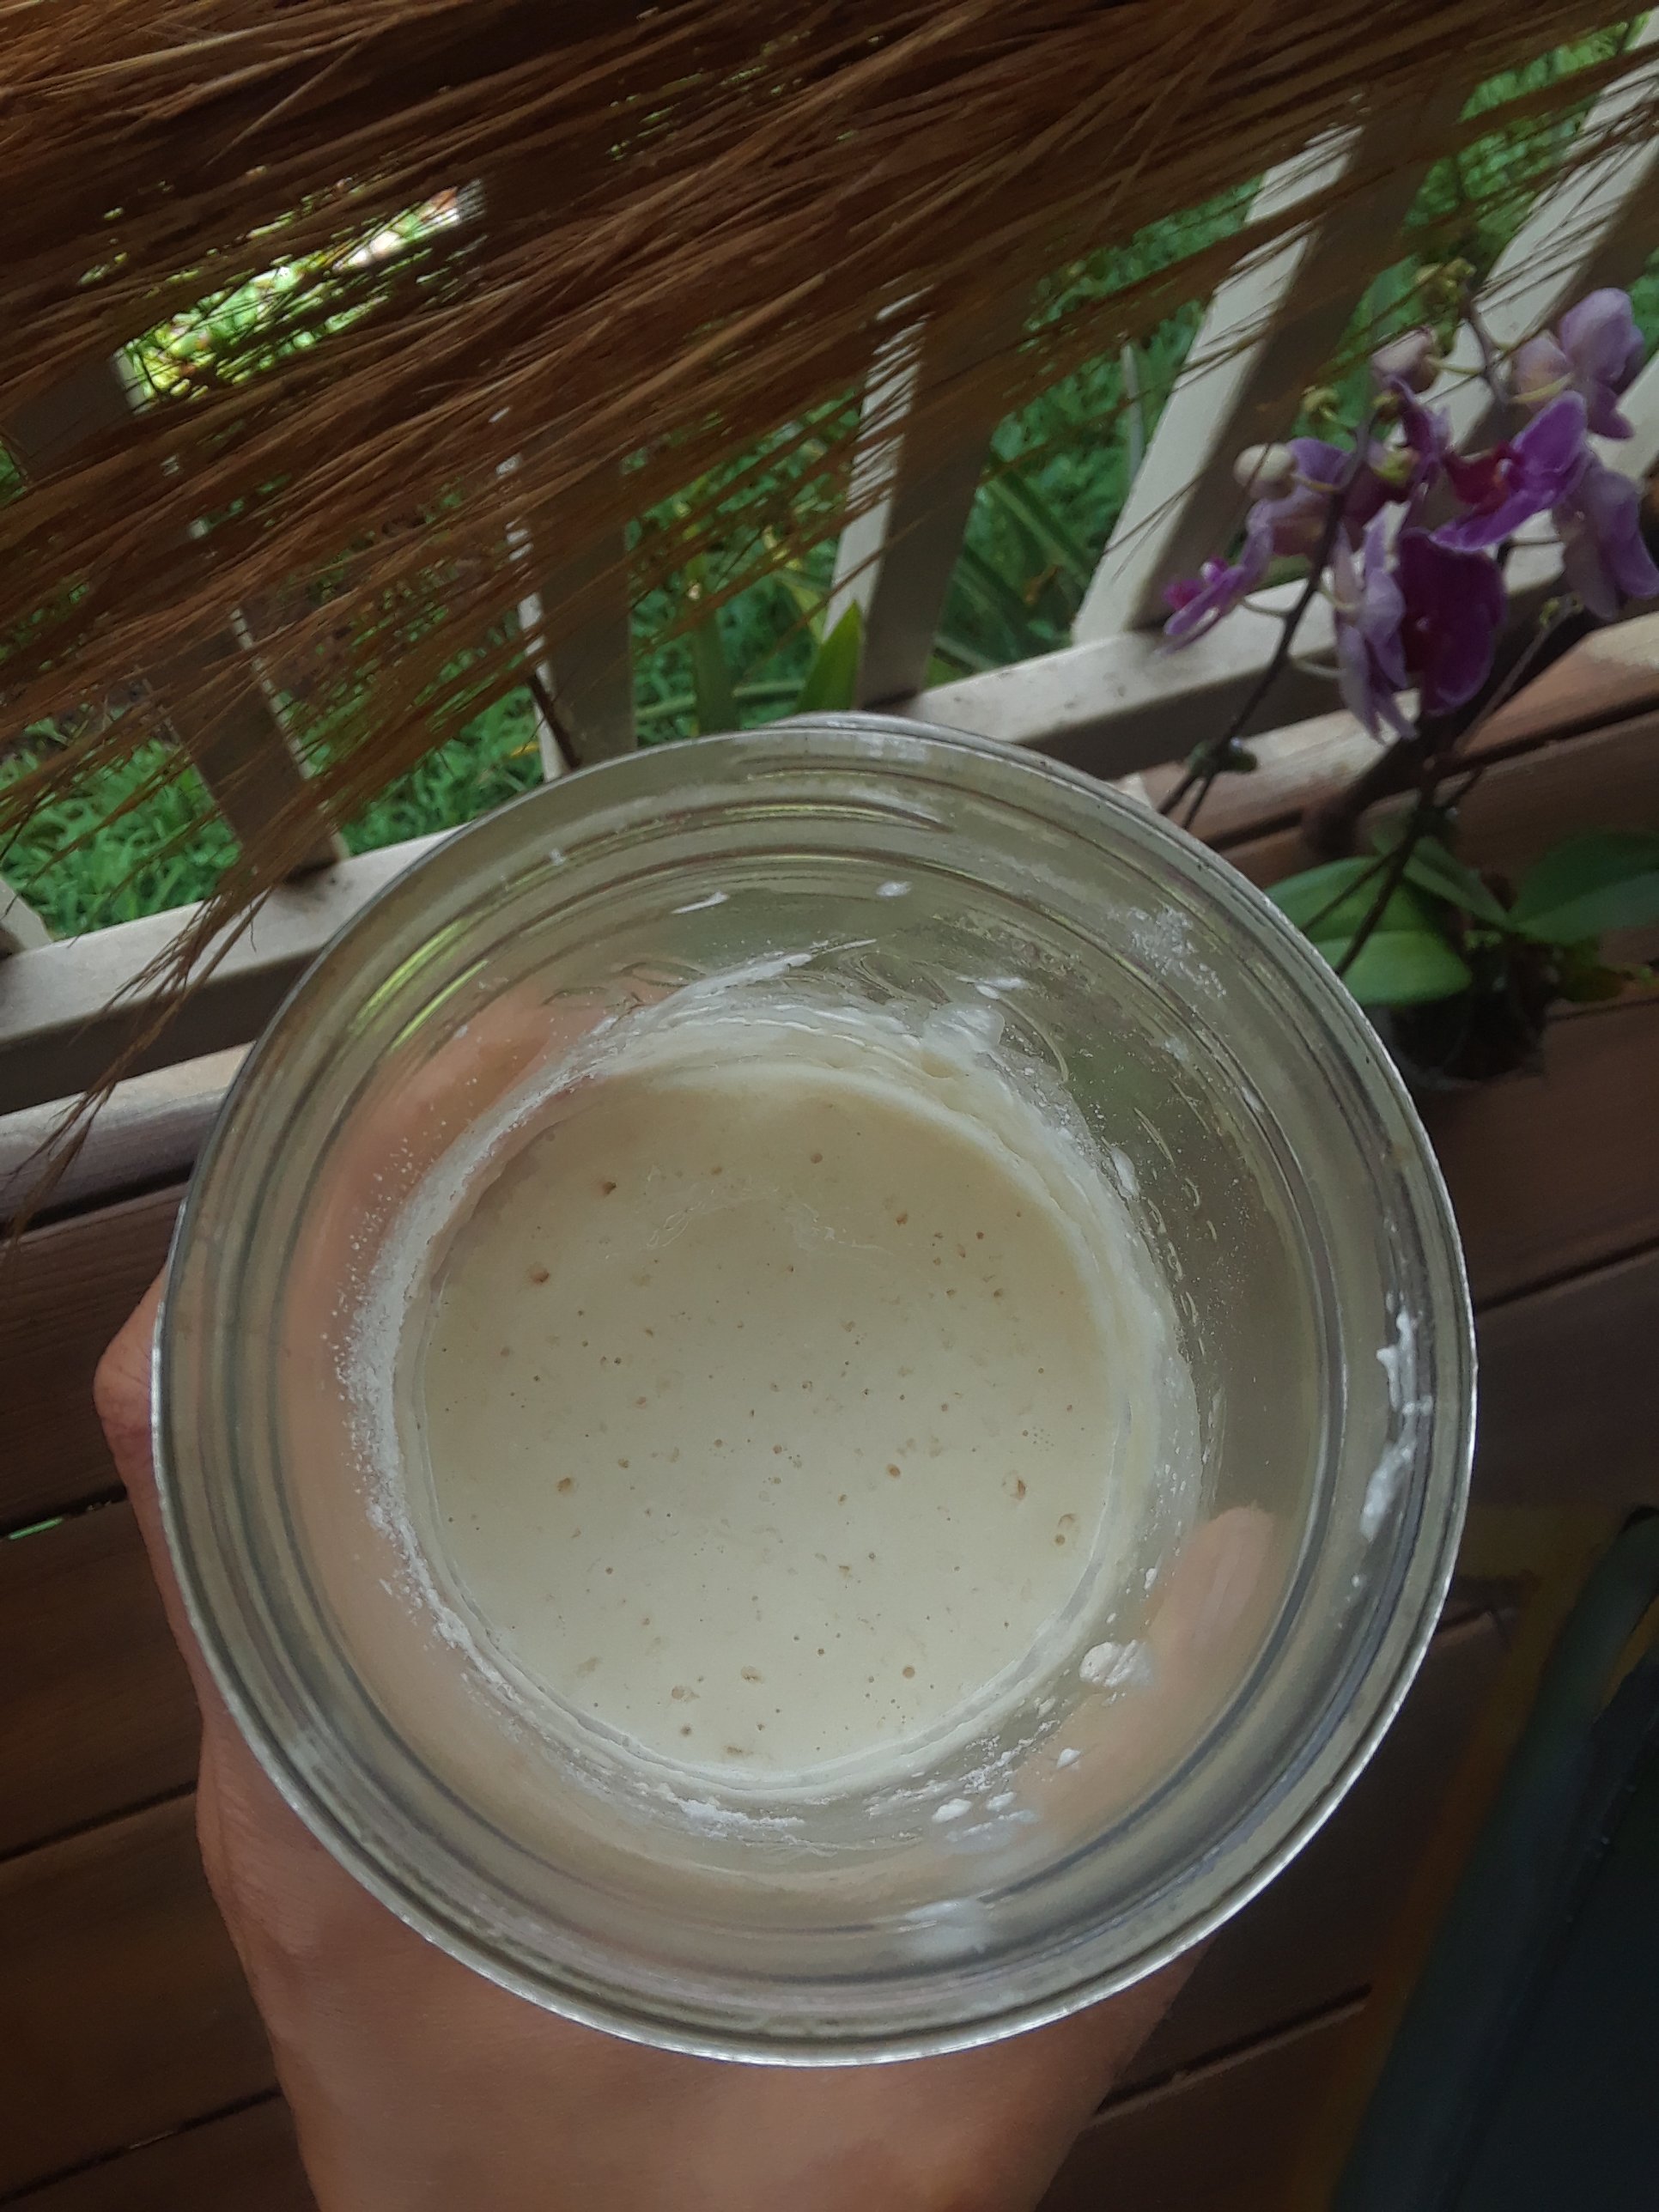
- Take out sourdough starter from its stored home in the refrigerator, empty its contents into a mixing bowl with cassava flour, coconut flour and water. Mix well. Add a quarter cup of this mixture back to your jar (this is your immortal sourdough starter) and feed it on the counter for a couple days to bring back it’s volume. Cover your remaining pancake batter bowl with a breathable cloth and allow it to ferment overnight, or for a whole day.
- When the batter is frothy with bubbles (microbial activity) and you are ripe with desire for the world’s best pancakes, add remaining ingredients to it and mix well
- Fry on a skillet in oil or butter till golden brown perfection
- Eat and enjoy with the ones you love. Praise God, from the very big to the invisibly small
I hope you enjoyed this blog post, found the information useful, and use it to bring happiness and health to your inner and out gardens. Aloha, Suze