This week I am excited to share a BRAND NEW (to me) recipe with you all. It was initially my friend Rosie’s idea to make this cake when I told her I was processing cassava root to make flour. Rosie is half Filipino and grew up eating bibingka, that is, Filipino coconut cassava cake. I had never heard of bibinka before, but I was thrilled at the prospect of doing anything novel with the cassava, as I only ever eat it ONE way, and although I never get tired of it this way, the point for making flour was to experiment and find new ways.
I love cake. I think everyone loves cake. It is especially awesome to know how to use such a locally abundant and wonderful food such as cassava to make dessert! Another plus, is that this cake is gluten, wheat, and grain free. And after experimenting making it several times in different ways, I realize that it doesn’t need eggs either. Cassava is so starchy that it needs no other binding agent than itself.
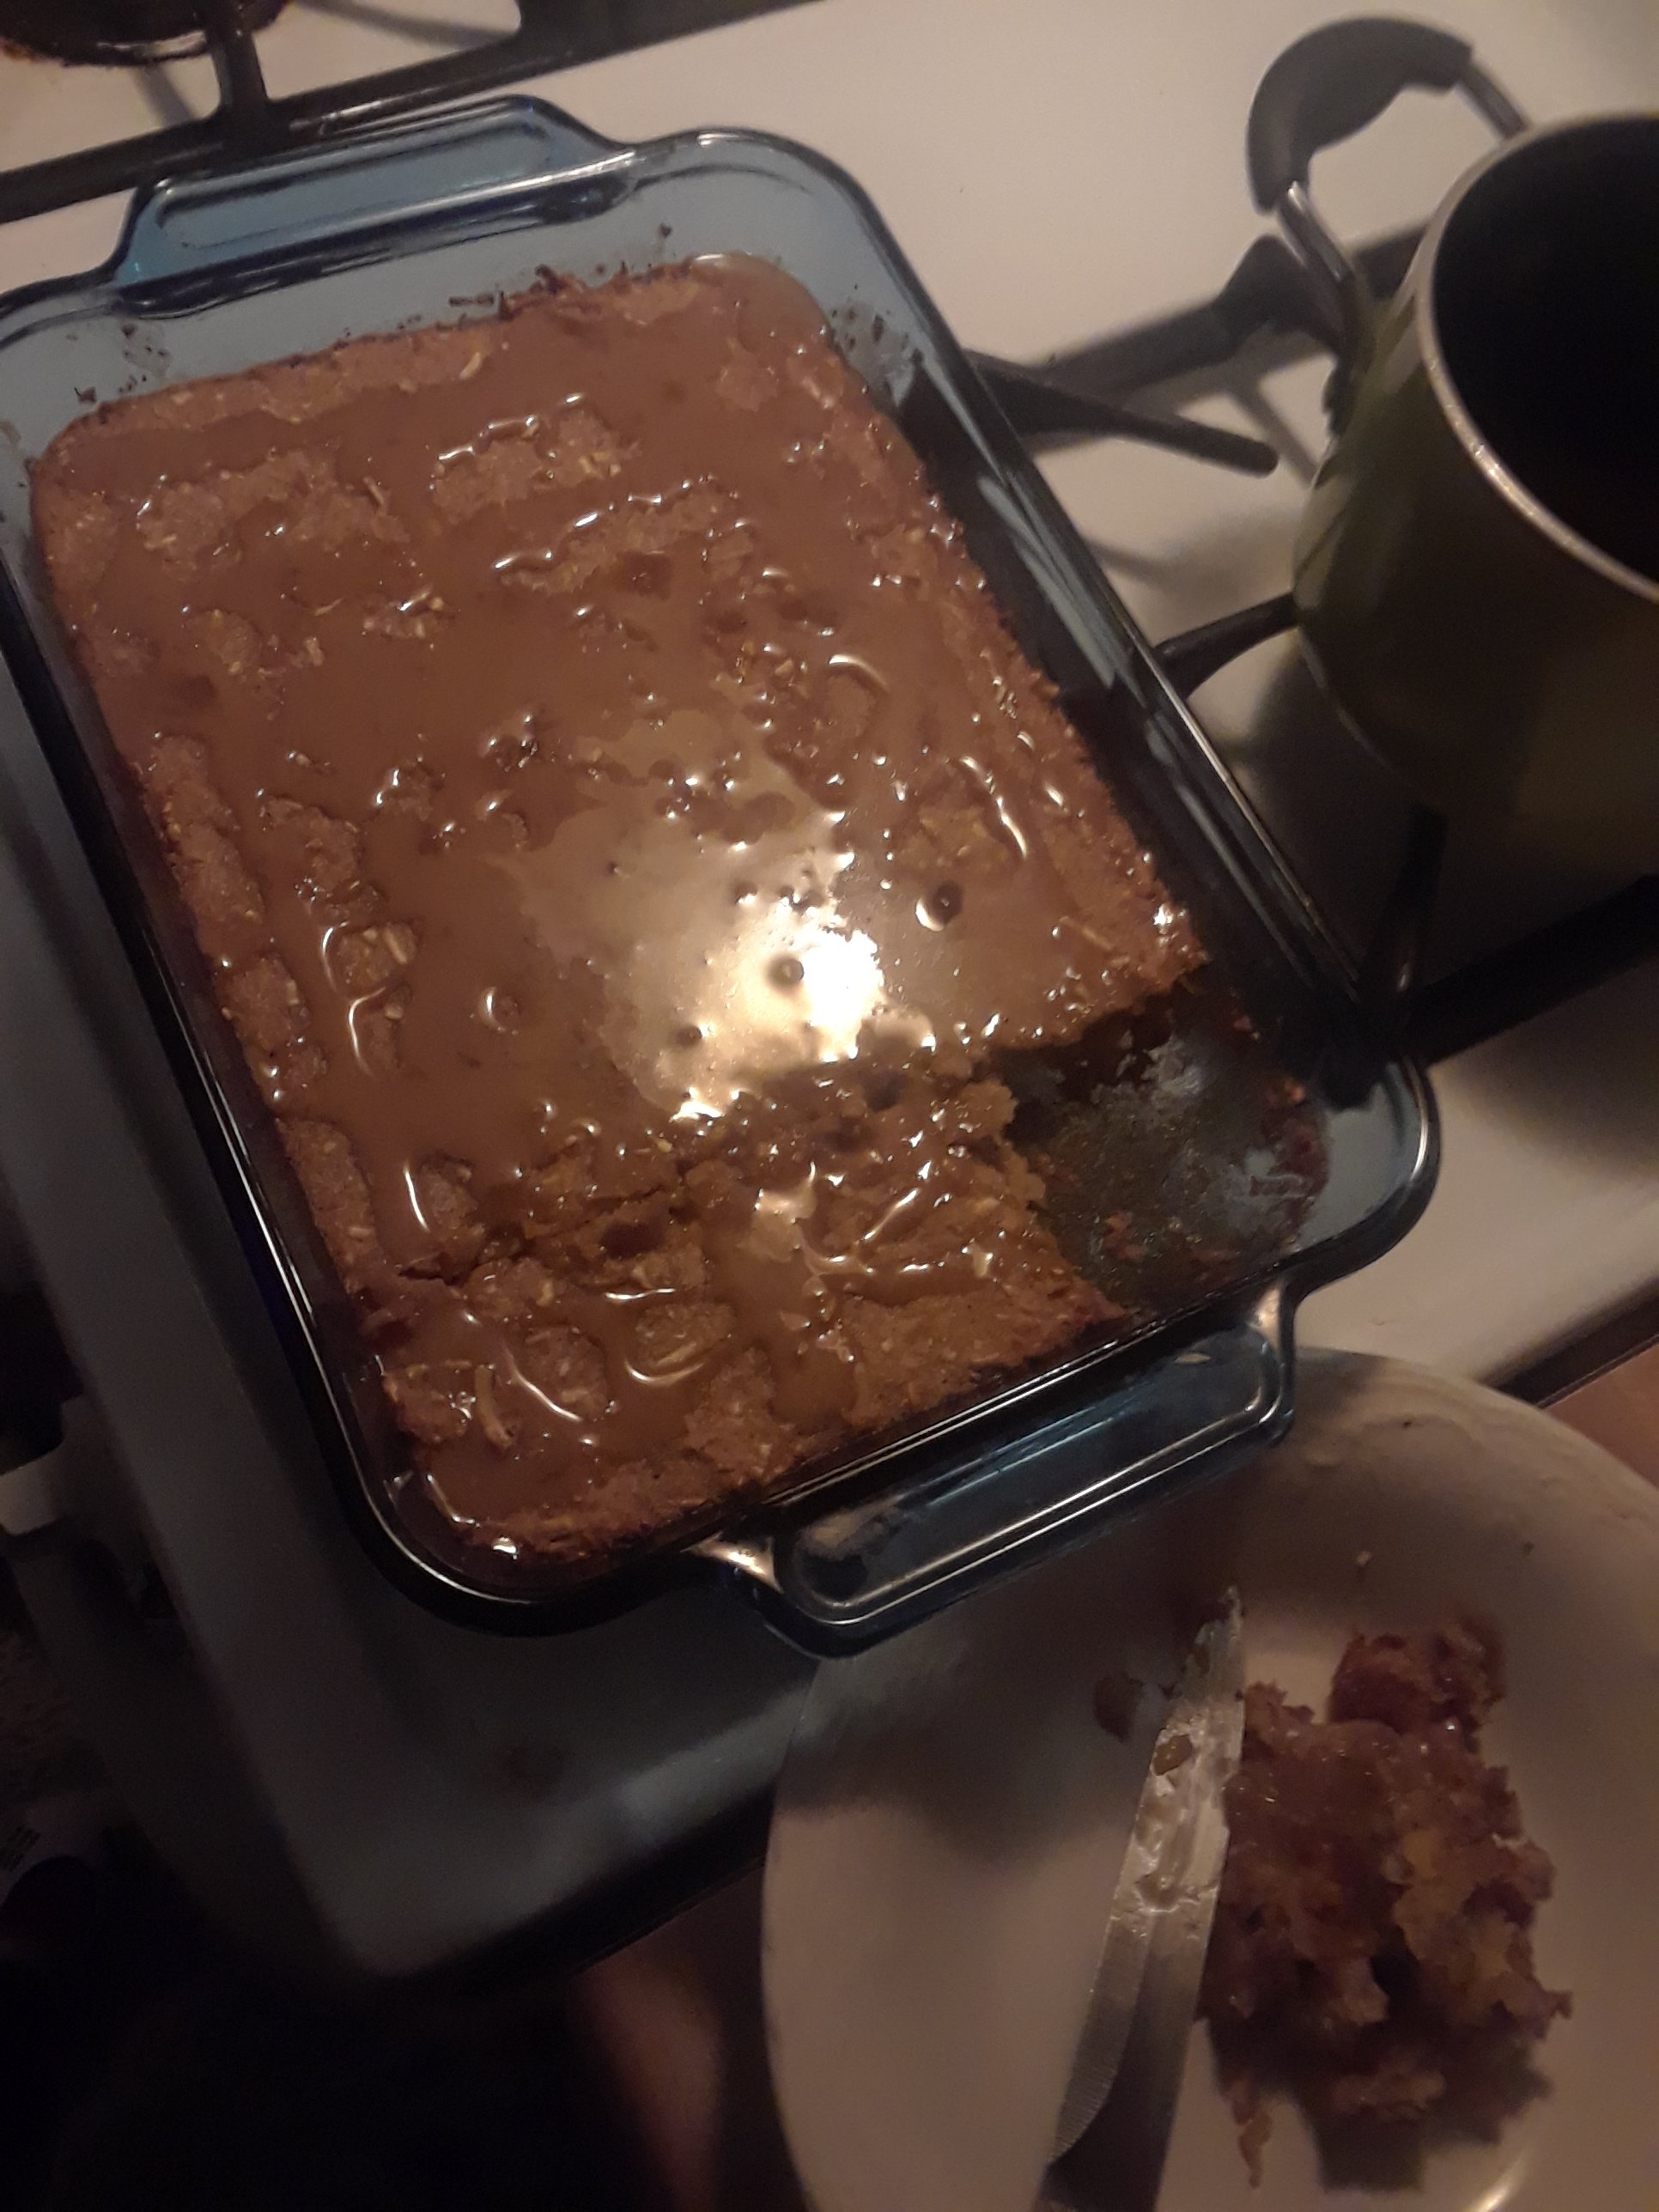
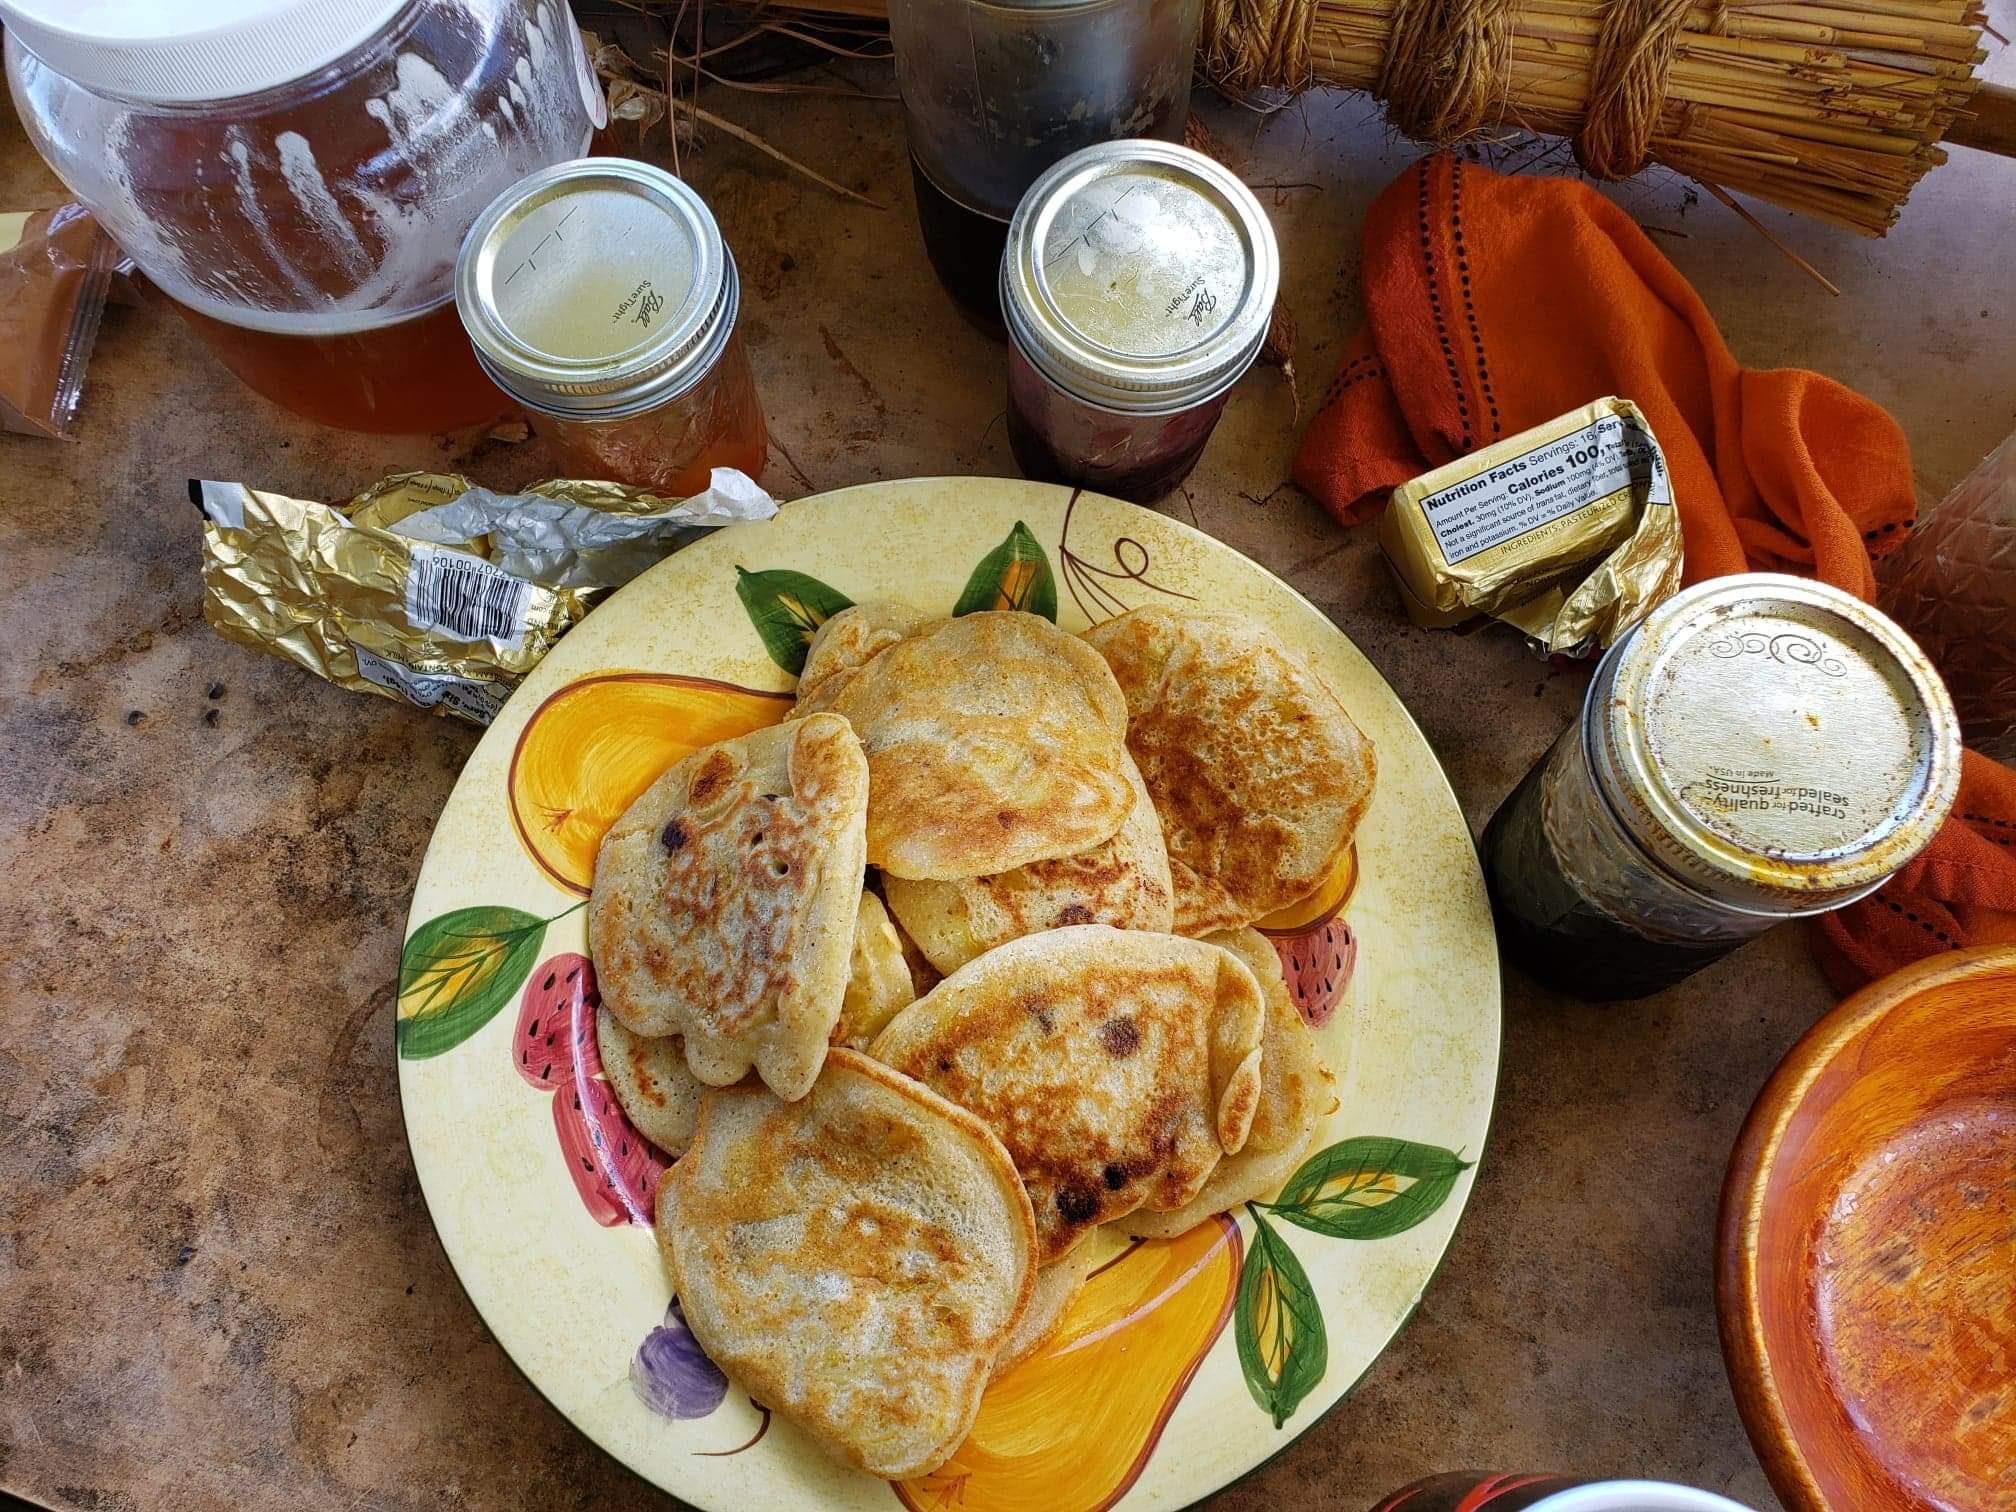
The cake Rosie and I made together used canned coconut milk, dehydrated coconut shreds and coconut condensed milk, which we made from an additional can of coconut milk and sugar. This first cake was ‘ONO (delicious) and highly addictive!
Later, I thought to myself, there must be a simpler way to make this cake with just cassava and a few coconuts. So I tried it and it worked and it was equally as ‘ono. True, this way I am going to share with you takes more time and effort to start, but it is cheaper and supports local economy. Plus, within this cake recipe there are three other recipes, for coconut milk, shreds, and sweet and condensed milk. After making this cake you will know how to make all three of these things from scratch, easy.
Before you begin, however, understand that several tools are essential for making these recipes easy.
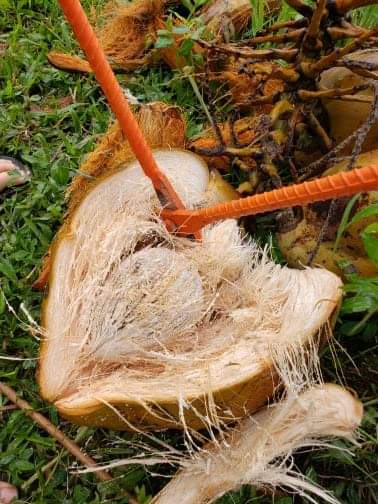
Number 1. A coconut husker. This is absolutely one of the most essential tools you should have if you live in the tropics. It makes husking a coconut FUN and about one-hundred times easier.
Number 2. a powerful blender. A Vitamix gets the job done of grinding coconut meat and water to make milk.
Number 3. A food processor with a grater. We use this machine principally to shred cassava, which is very tough and difficult to shred by hand, though you can with a regular sharp cheese grater…but be careful!
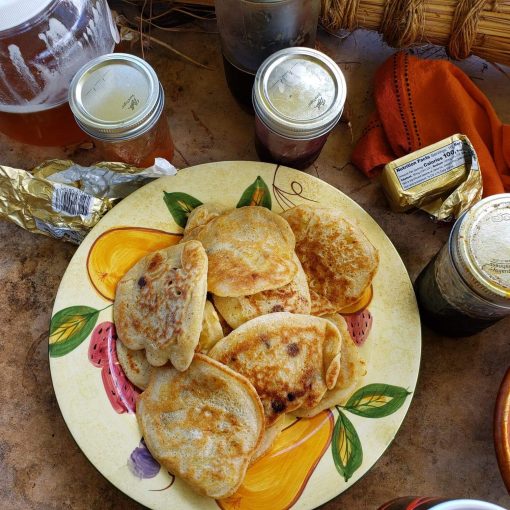
Now, this recipe is fun because you can make it in a variety of different ways utilizing the same ingredients. For example, if you grind your dried cassava into a fine powder the cake comes out with the texture of mochi. If you use it in it’s raw, grated form it comes out more bread-like. The first cake I made with Rosie we used the un-ground dried cassava shreds and the cake came out both chewy and crunchy, similar to homemade kulolo. It was especially yummy after it had sat out on the counter over the (cool Waimea) night…
Anyway, regardless of how you make it, the same basic ingredients are as follows:
- 2 cups of cassava root
- 3 mature coconuts
- 1 cup sugar
- 3-4 tablespoons butter, ghee or coconut oil
- 3/4 teaspoon salt
Optional ingredients include:
- 1-2 eggs
- ground cardamon
If you are not as crazy/obsessed as me with long intensive cooking projects here is the list for the make-your-life-easy store-bought ingredients:
- 2 cups cassava flour
- 1 cup shredded coconut flakes
- 2 cans coconut milk
- 1 can condensed milk (coconut or regular)
If you are as crazy as me and like long, intensive cooking projects, then these next steps are for you:
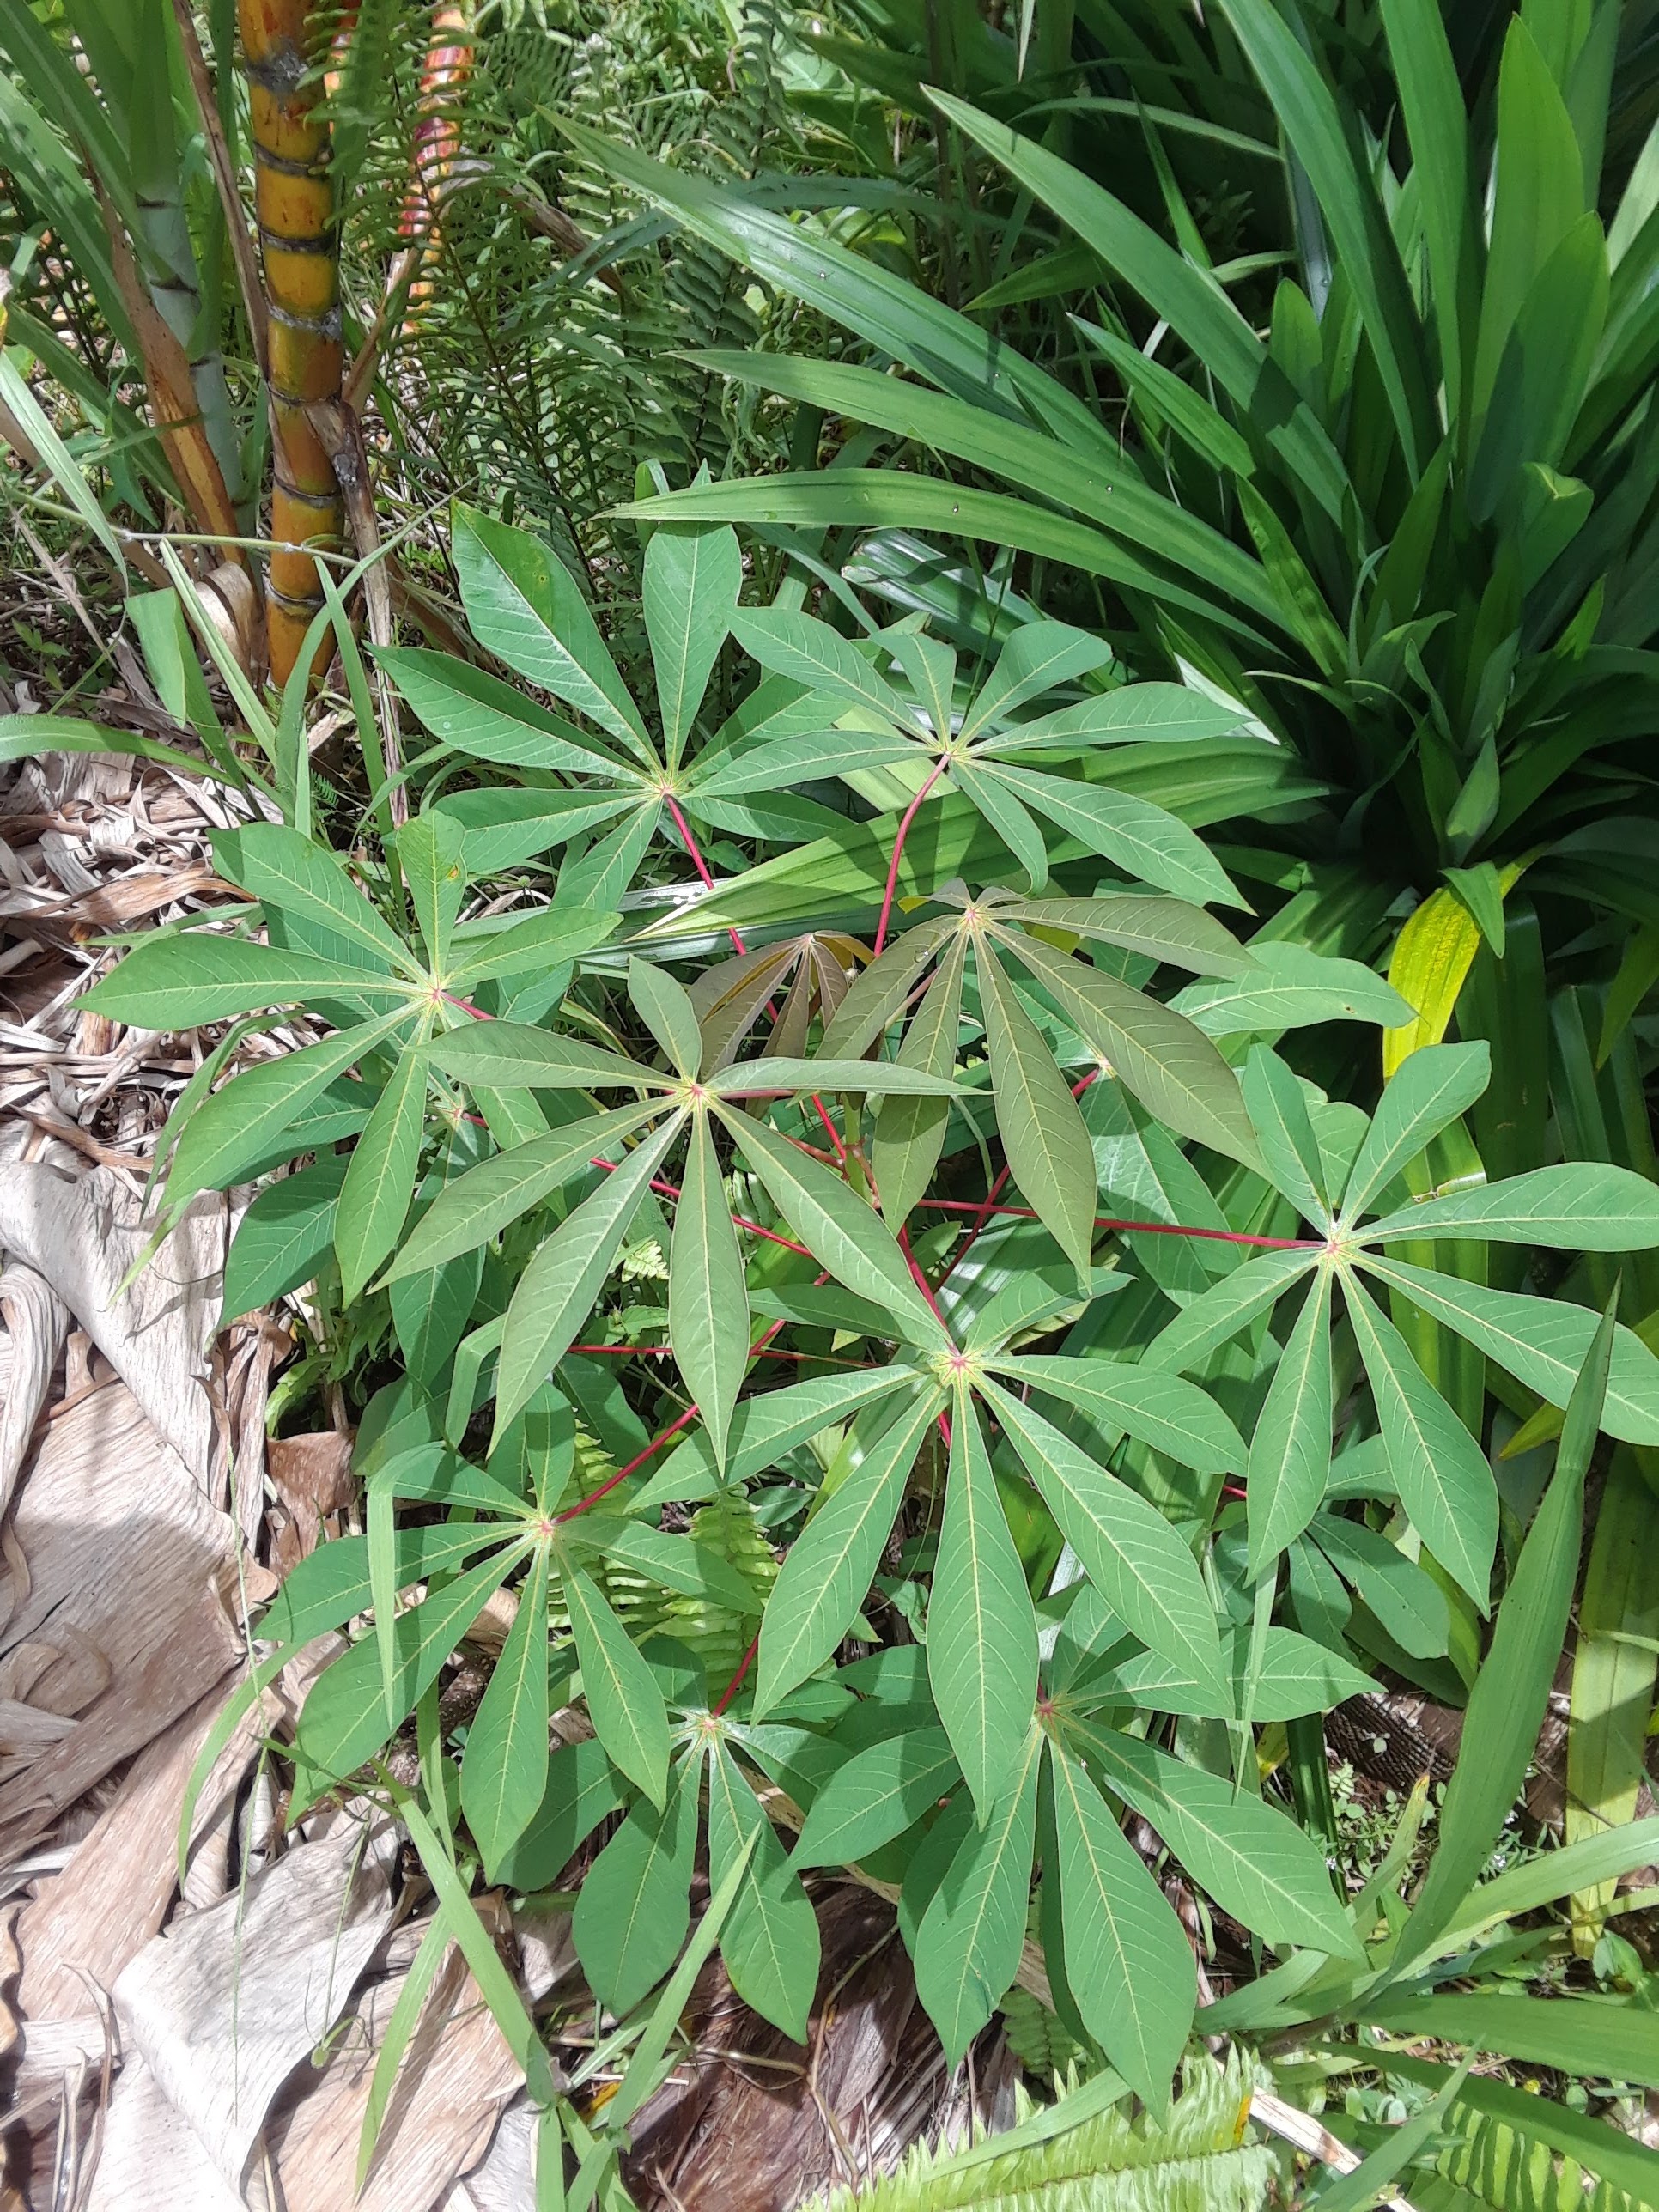
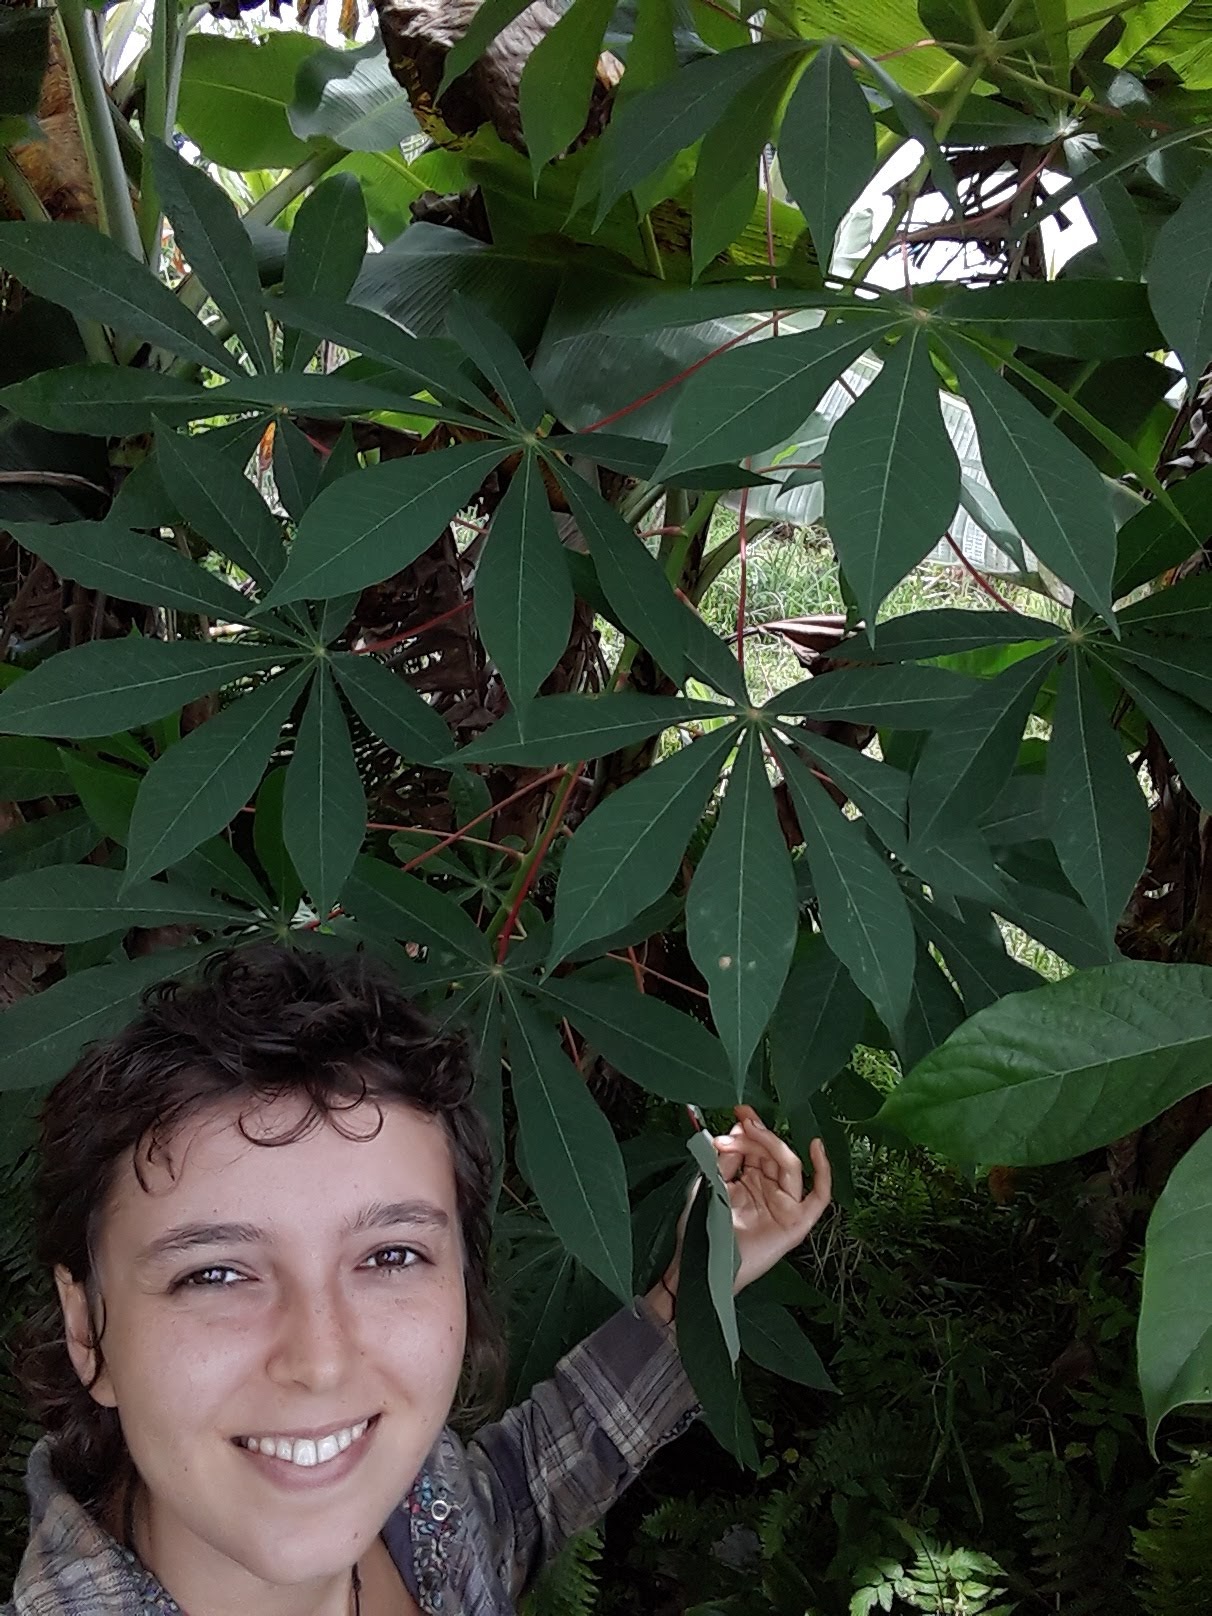
- 1. PLANT CASSAVA. This is one of the easiest plants to grow here in Hawaii. We farm on some of the island’s most previously poisoned and abused land, but still we can grow cassava pretty well out of it, even where we have not done intensive bio-remediation. Next to bananas its our best crop. Cassava does not ask for much from the soil. It largely demands celestial energy, i.e., sunlight, to grow, which makes it a perfect pioneer crop, soil conditioner, and an excellent plant to put in your food sovereignty garden! Planting is simple. Just take your planting material, i.e., a cutting from another cassava plant and plunge that sucka into the ground. An ‘o’o bar is useful for doing this especially if your soil is hard and compact. If you live on lava flow and don’t have much soil to plunge into, you can instead cut the cutting into tiny pieces and sprout each of the nodes individually. Then you only need a couple inches of soil for it to grow into, and as it grows the symbiotic microorganisms it’ll attracts will begin to break down the lava rock and grow the top soil. Planted from a cutting, cassava takes 9-12 months to grow. Each plant has the potential to produce several tubers.
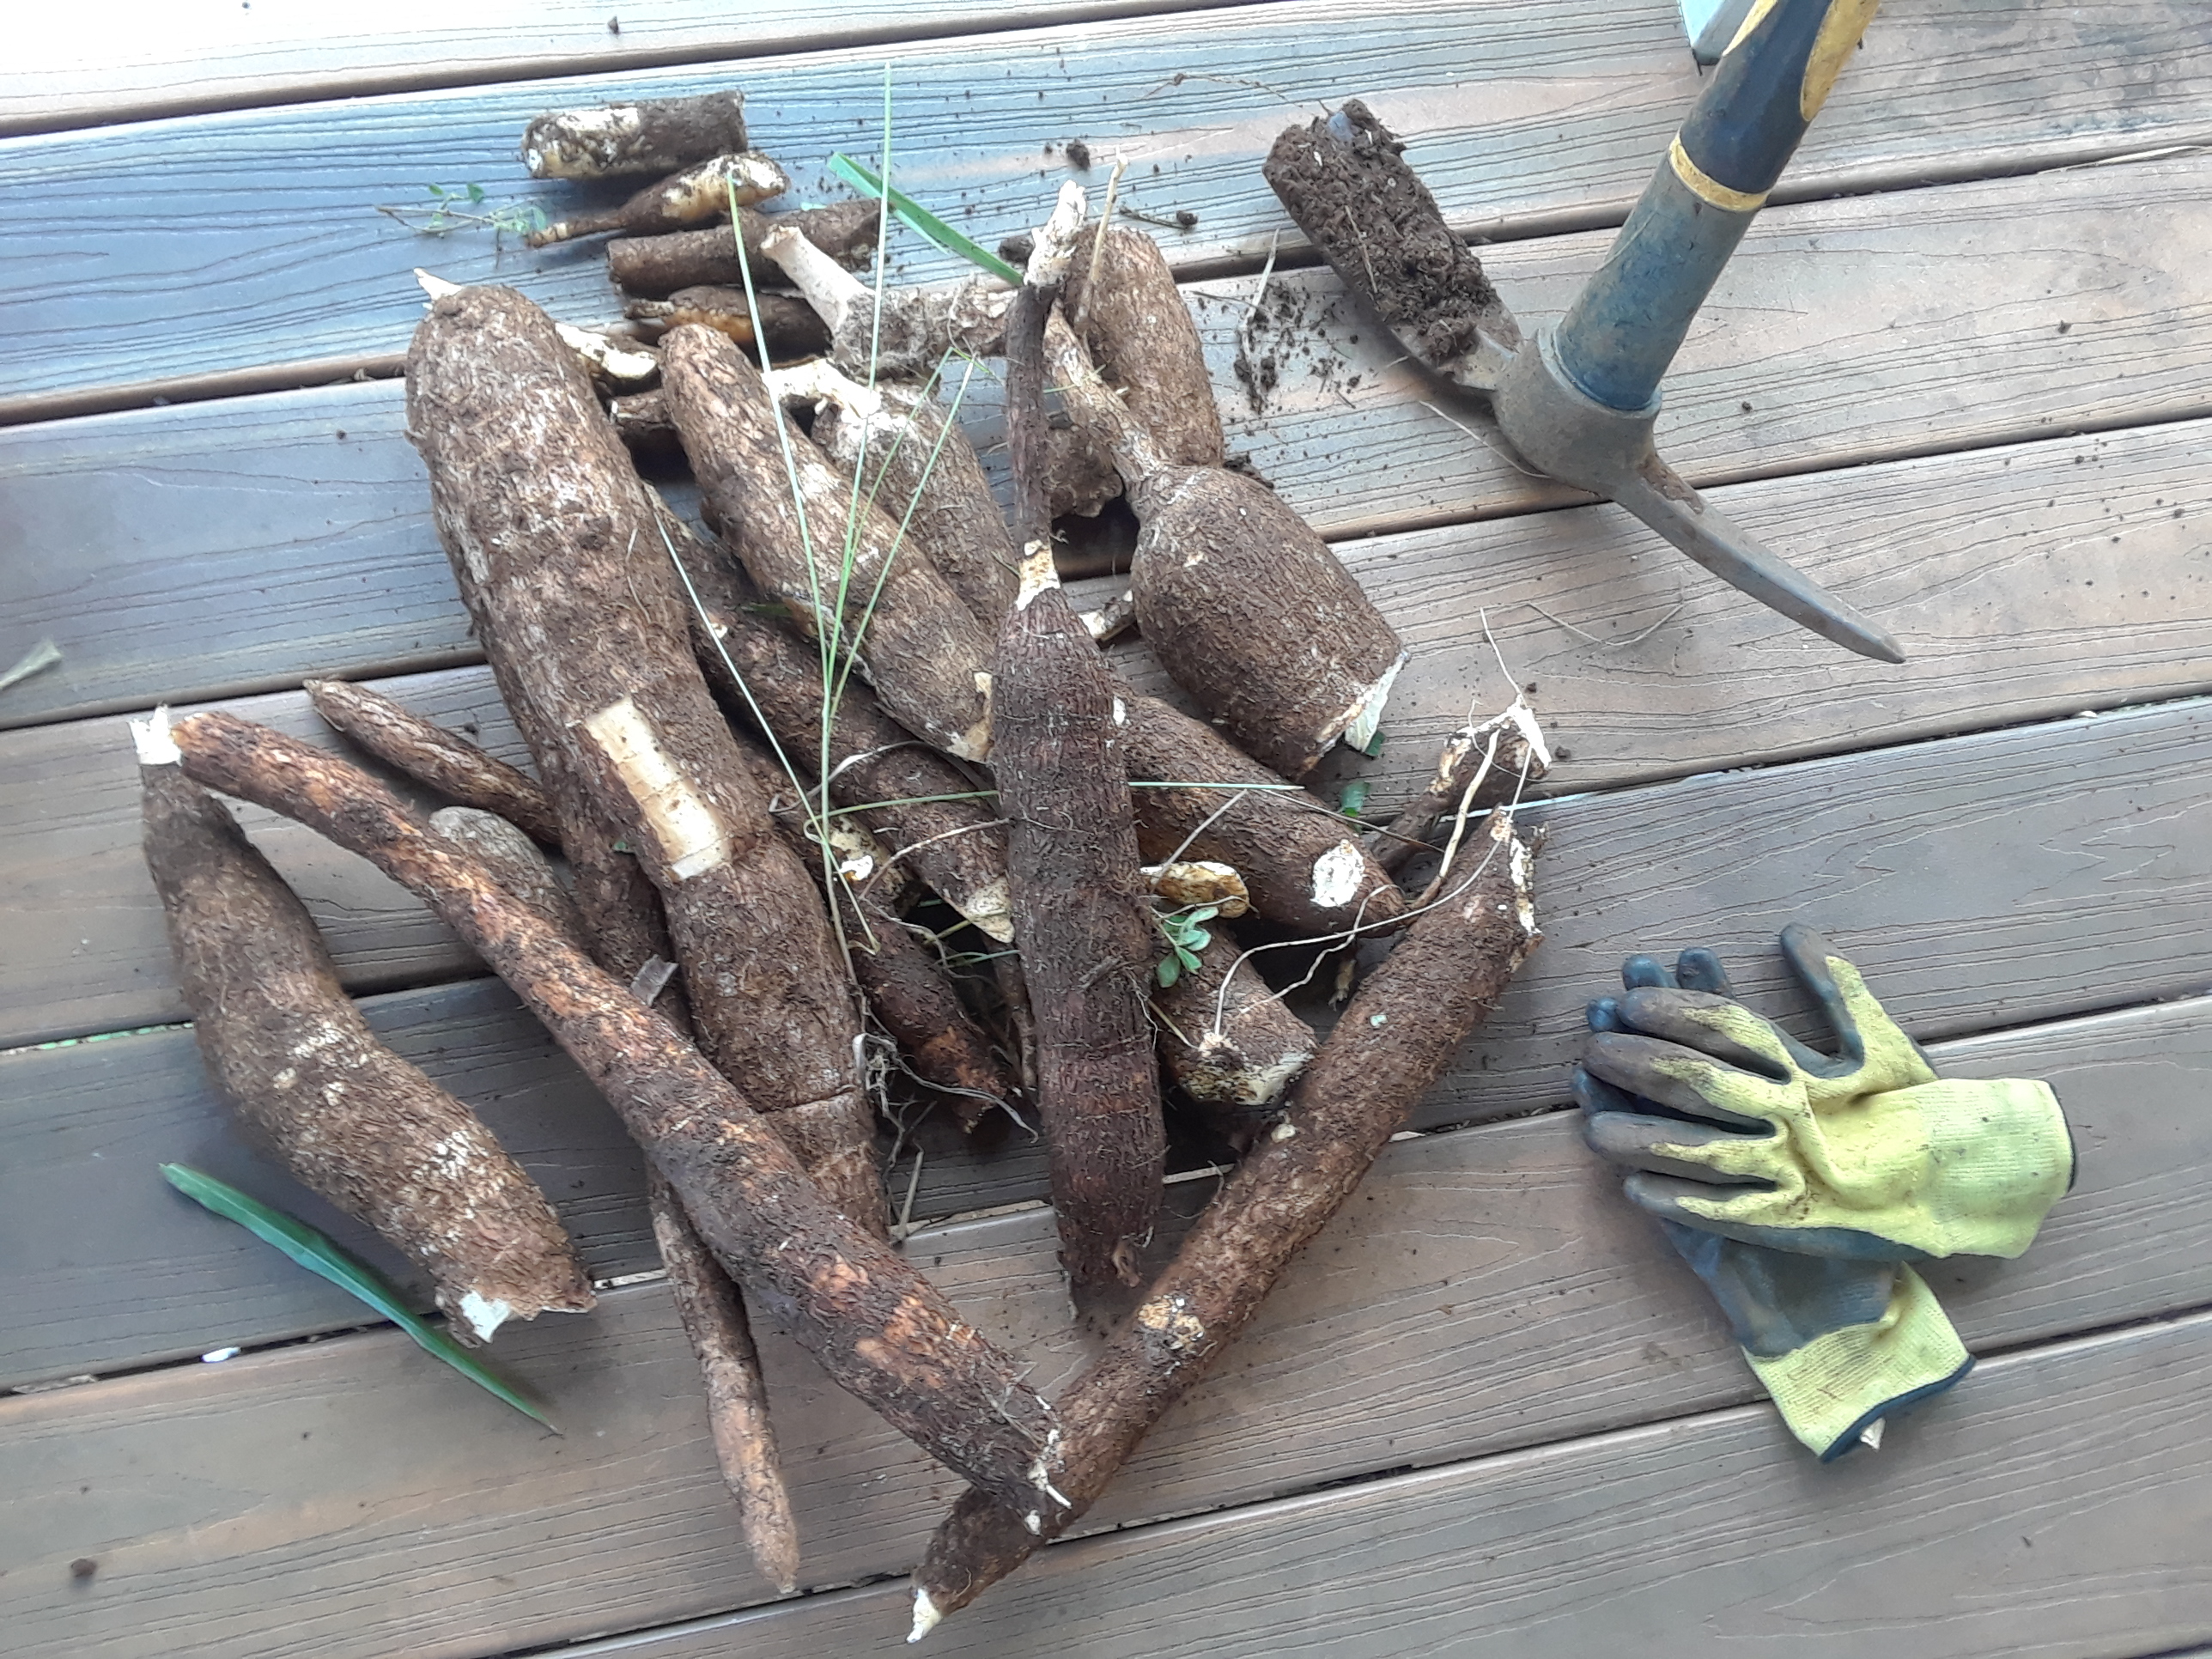
- HARVEST CASSAVA. This is one of my favorite parts. Digging into the ground with the pick and searching for buried treasure. How far will the cassava wander? Although the roots may grow very deep, the tubers will stay

Freshly harvested tubers fairly shallow and run horizontally outward. How do you know when it’s ripe and ready? Observe your cassava shrub as it grows and you will see that for the most part of it’s life it puts out 7-9 leaves per stem. It may grow very tall or wide. But at a certain point when it’s consumptive growth period is over it will start sending its energy down into it’s roots to grow fruit. At this point you will observe the tree shrink sightly in stature as well as it’s leaf count drop down to 1-5 per stem. This is how you know it is time for harvest.
- PEEL IT. This part is also fun and satisfying to me. I take a pocket knife and slit down the length of the tuber, then pry up on the outer casing till my fingers can get inside and begin to pull it off. You’ll get the hang of it quickly from doing it and then it’s satisfying to see how large of an unbroken piece you can peel off.

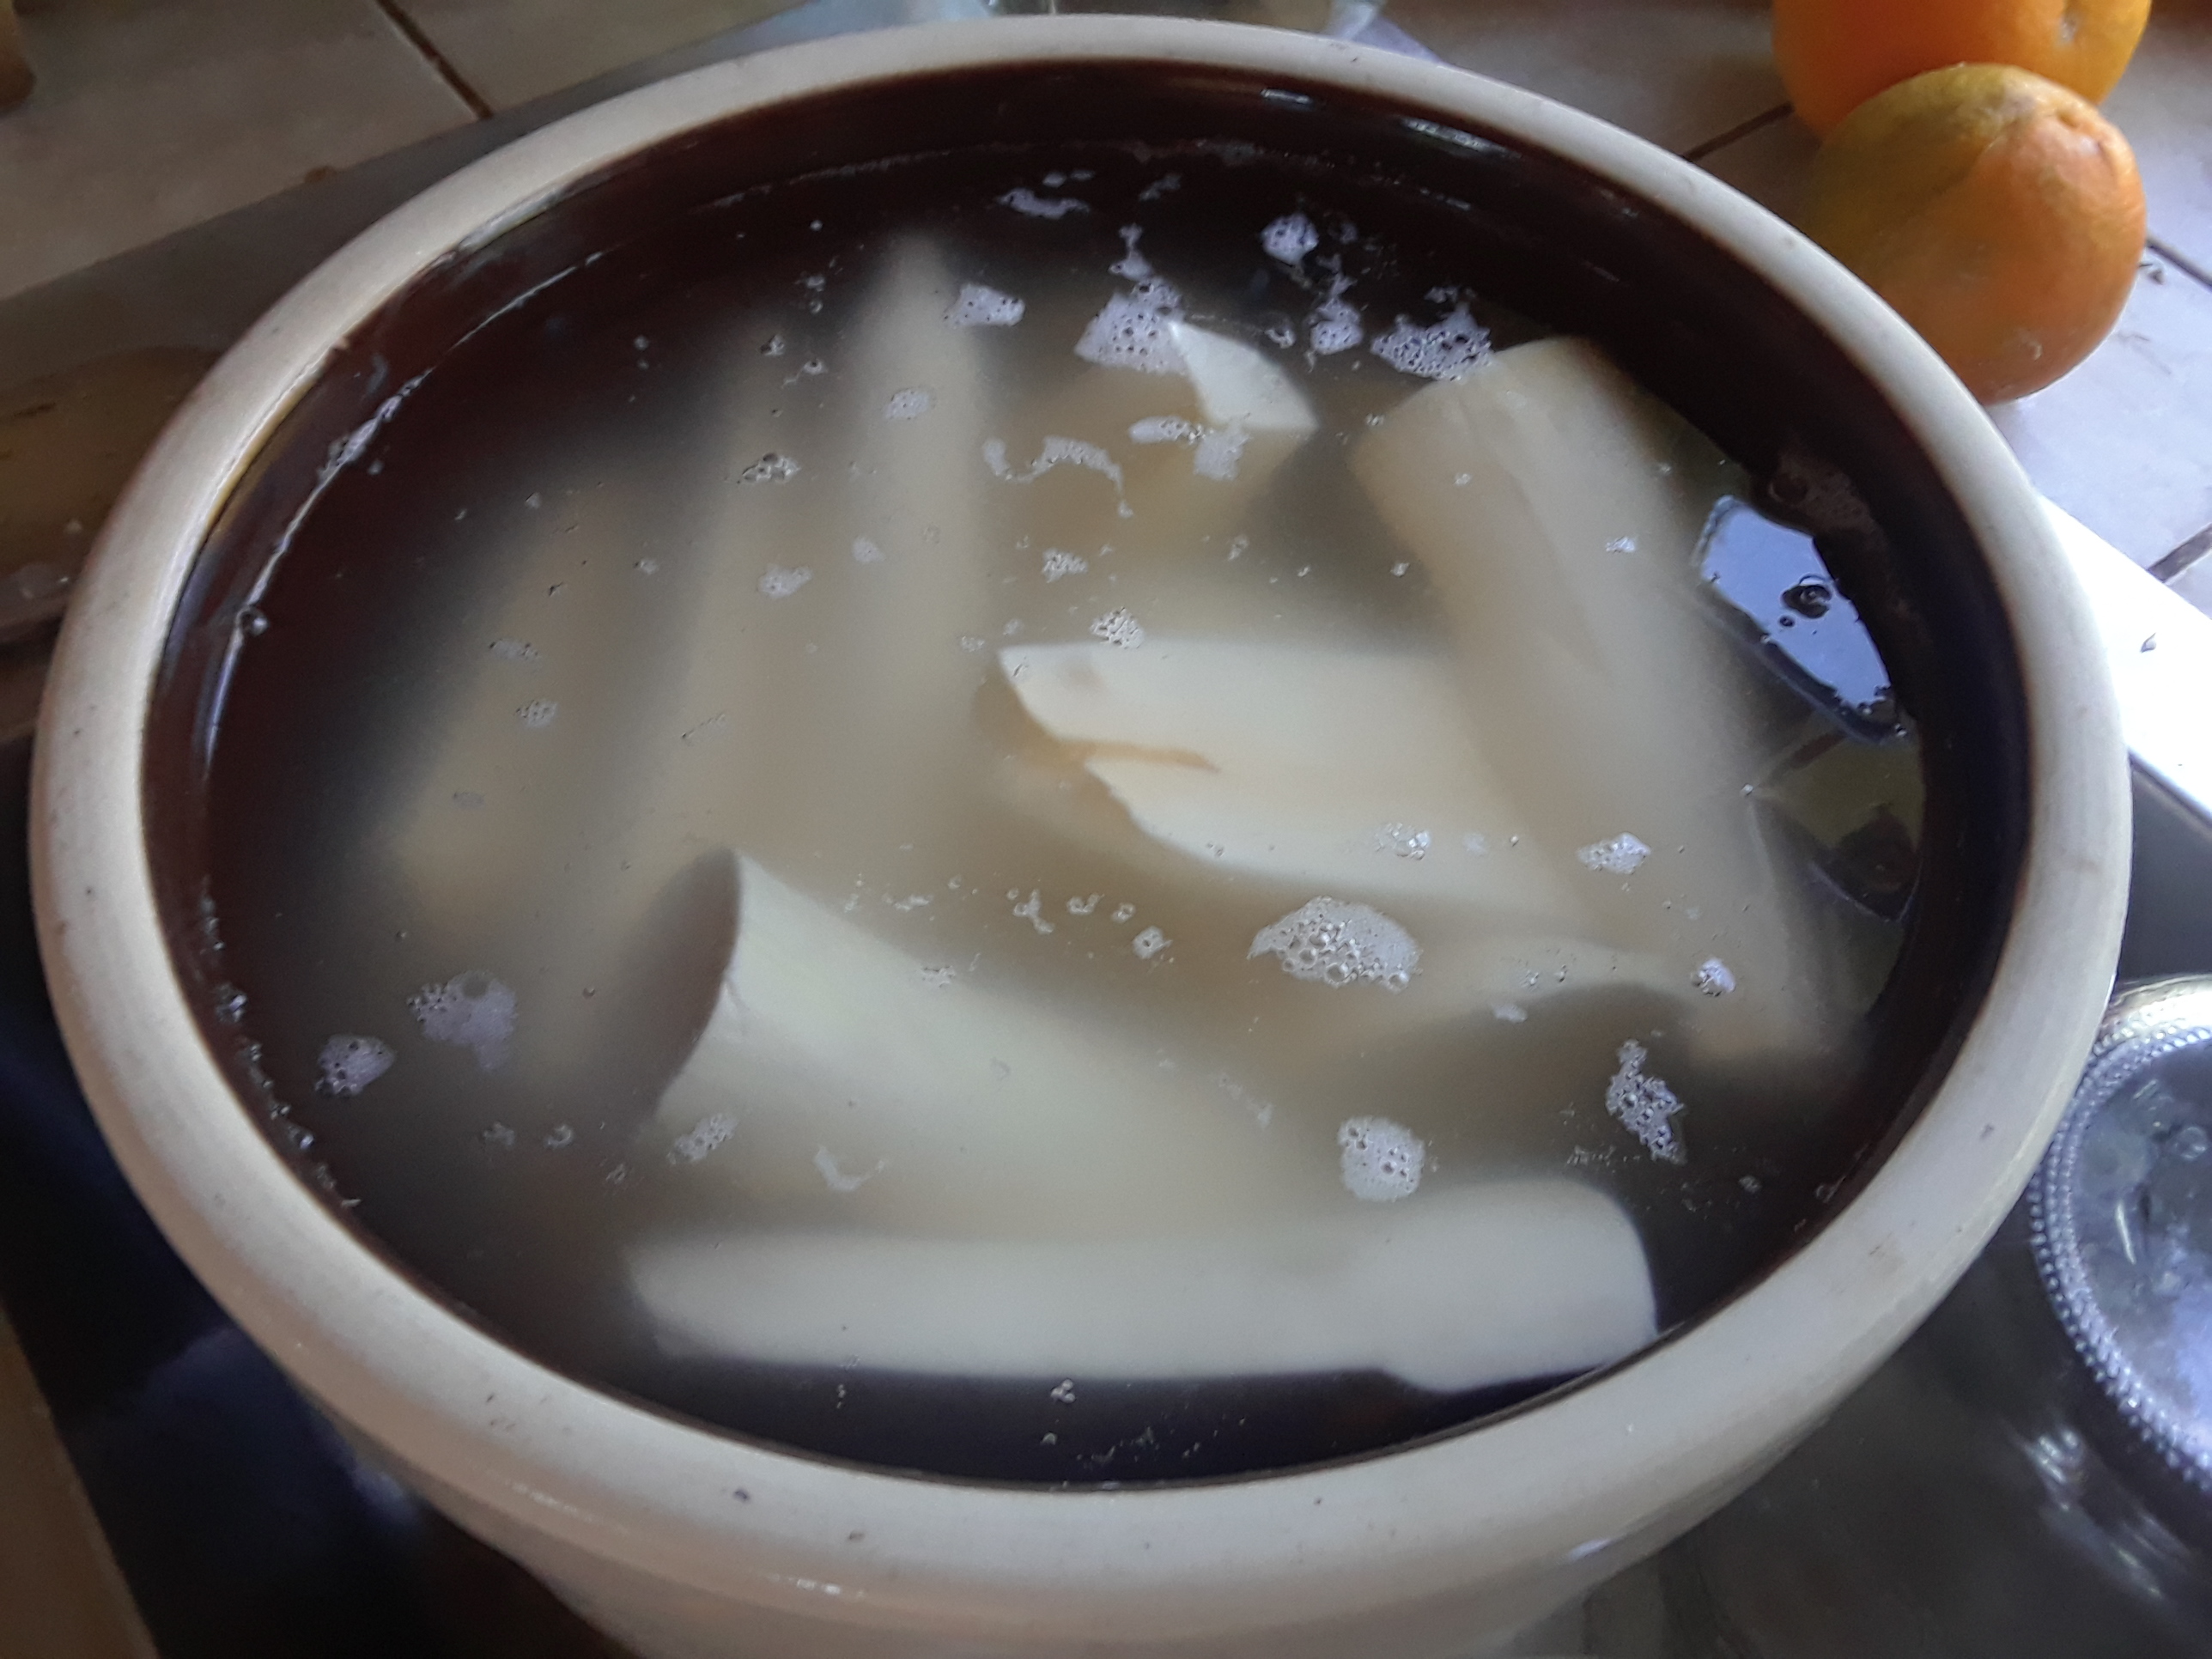
Soaking cassava in the crock pot - SOAK IT. Let soak for 24 hrs in a tub of water. For the Brazilian variety of cassava that we have, this step is totally optional. The cassava is ready to eat once you’ve harvested, peeled and washed it, but I personally like to soak it for 24 hrs for the same reason that some folks soak their lentils and beans before they cook them. This soaking/fermenting process eliminates a portion of phytase inherent within cassava. HOWEVER, some varieties of cassava contain moderate amounts of cyanide within the tuber, so check which variety you have before you begin. You may be required to soak it for longer, ferment it, or cook it longer as well.
- GRATE. I use the food processor, ‘cause it gets the job done safety and efficiently.

At this point you can either use the cassava as it is to make cake, eat it some other way, or dehydrate it. Once dehydrated you can either store it for later use you, make cake, or grind it into flour and then make cake.
Steps for making COCONUT MILK, SHREDDED COCONUT AND CONDENSED MILK:
- Husk 3 coconuts, crack the shells, drain water and scoop out mature meat
- Add two of the coconuts and all of the water to a blender and grind till smooth. You should have about 3 cups liquid. If not, add extra water.
This thick coconut milk is what I use for the cake recipe. For other uses/recipes you can strain the solids from the milk. You can takes the pulp and toast it in a pan till all the water evaporates and it lightly browns, and what you have left is fine coconut shreds. If you take the strained liquid, place it in the refrigerator till the water and fat separate what you have on top is pure coconut cream. Mix the top and bottom together and you get a silkier coconut milk. But for this particular recipe I don’t bother separating the solids from the liquids because I’m just going to add them both in any way.
3. Take the last coconut and throw it through the food processor or shred by hand. Behold, fresh shredded coconut.
4. Take the chunky coconut milk you made first (you will have approximately 5 cups worth), removed 2 cups and place in a pot on medium heat. Add 1 cup sugar, stir frequently and reduce liquid down by half. This is your sweet and condensed coconut milk. If you love the spice cardamom, like I do, add a heaping spoonful of that to the pot as well.

COMBINING ALL INGREDIENTS TOGETHER
Steps.
- Combine two cups of cassava with 1 cup coconut shreds, 3 cups coconuts milk and ½ teaspoon salt. The cassava absorbs a lot of water (especially in flour form) so it may be necessary to add some extra water if the batter looks too firm. It should be cake-batter consistency
- Melt 4 tablespoons butter, ghee or coconut oil into your warm sweet and condensed milk
- Once melted, combine 2 cups of condensed milk with cassava batter. Leave the rest for topping
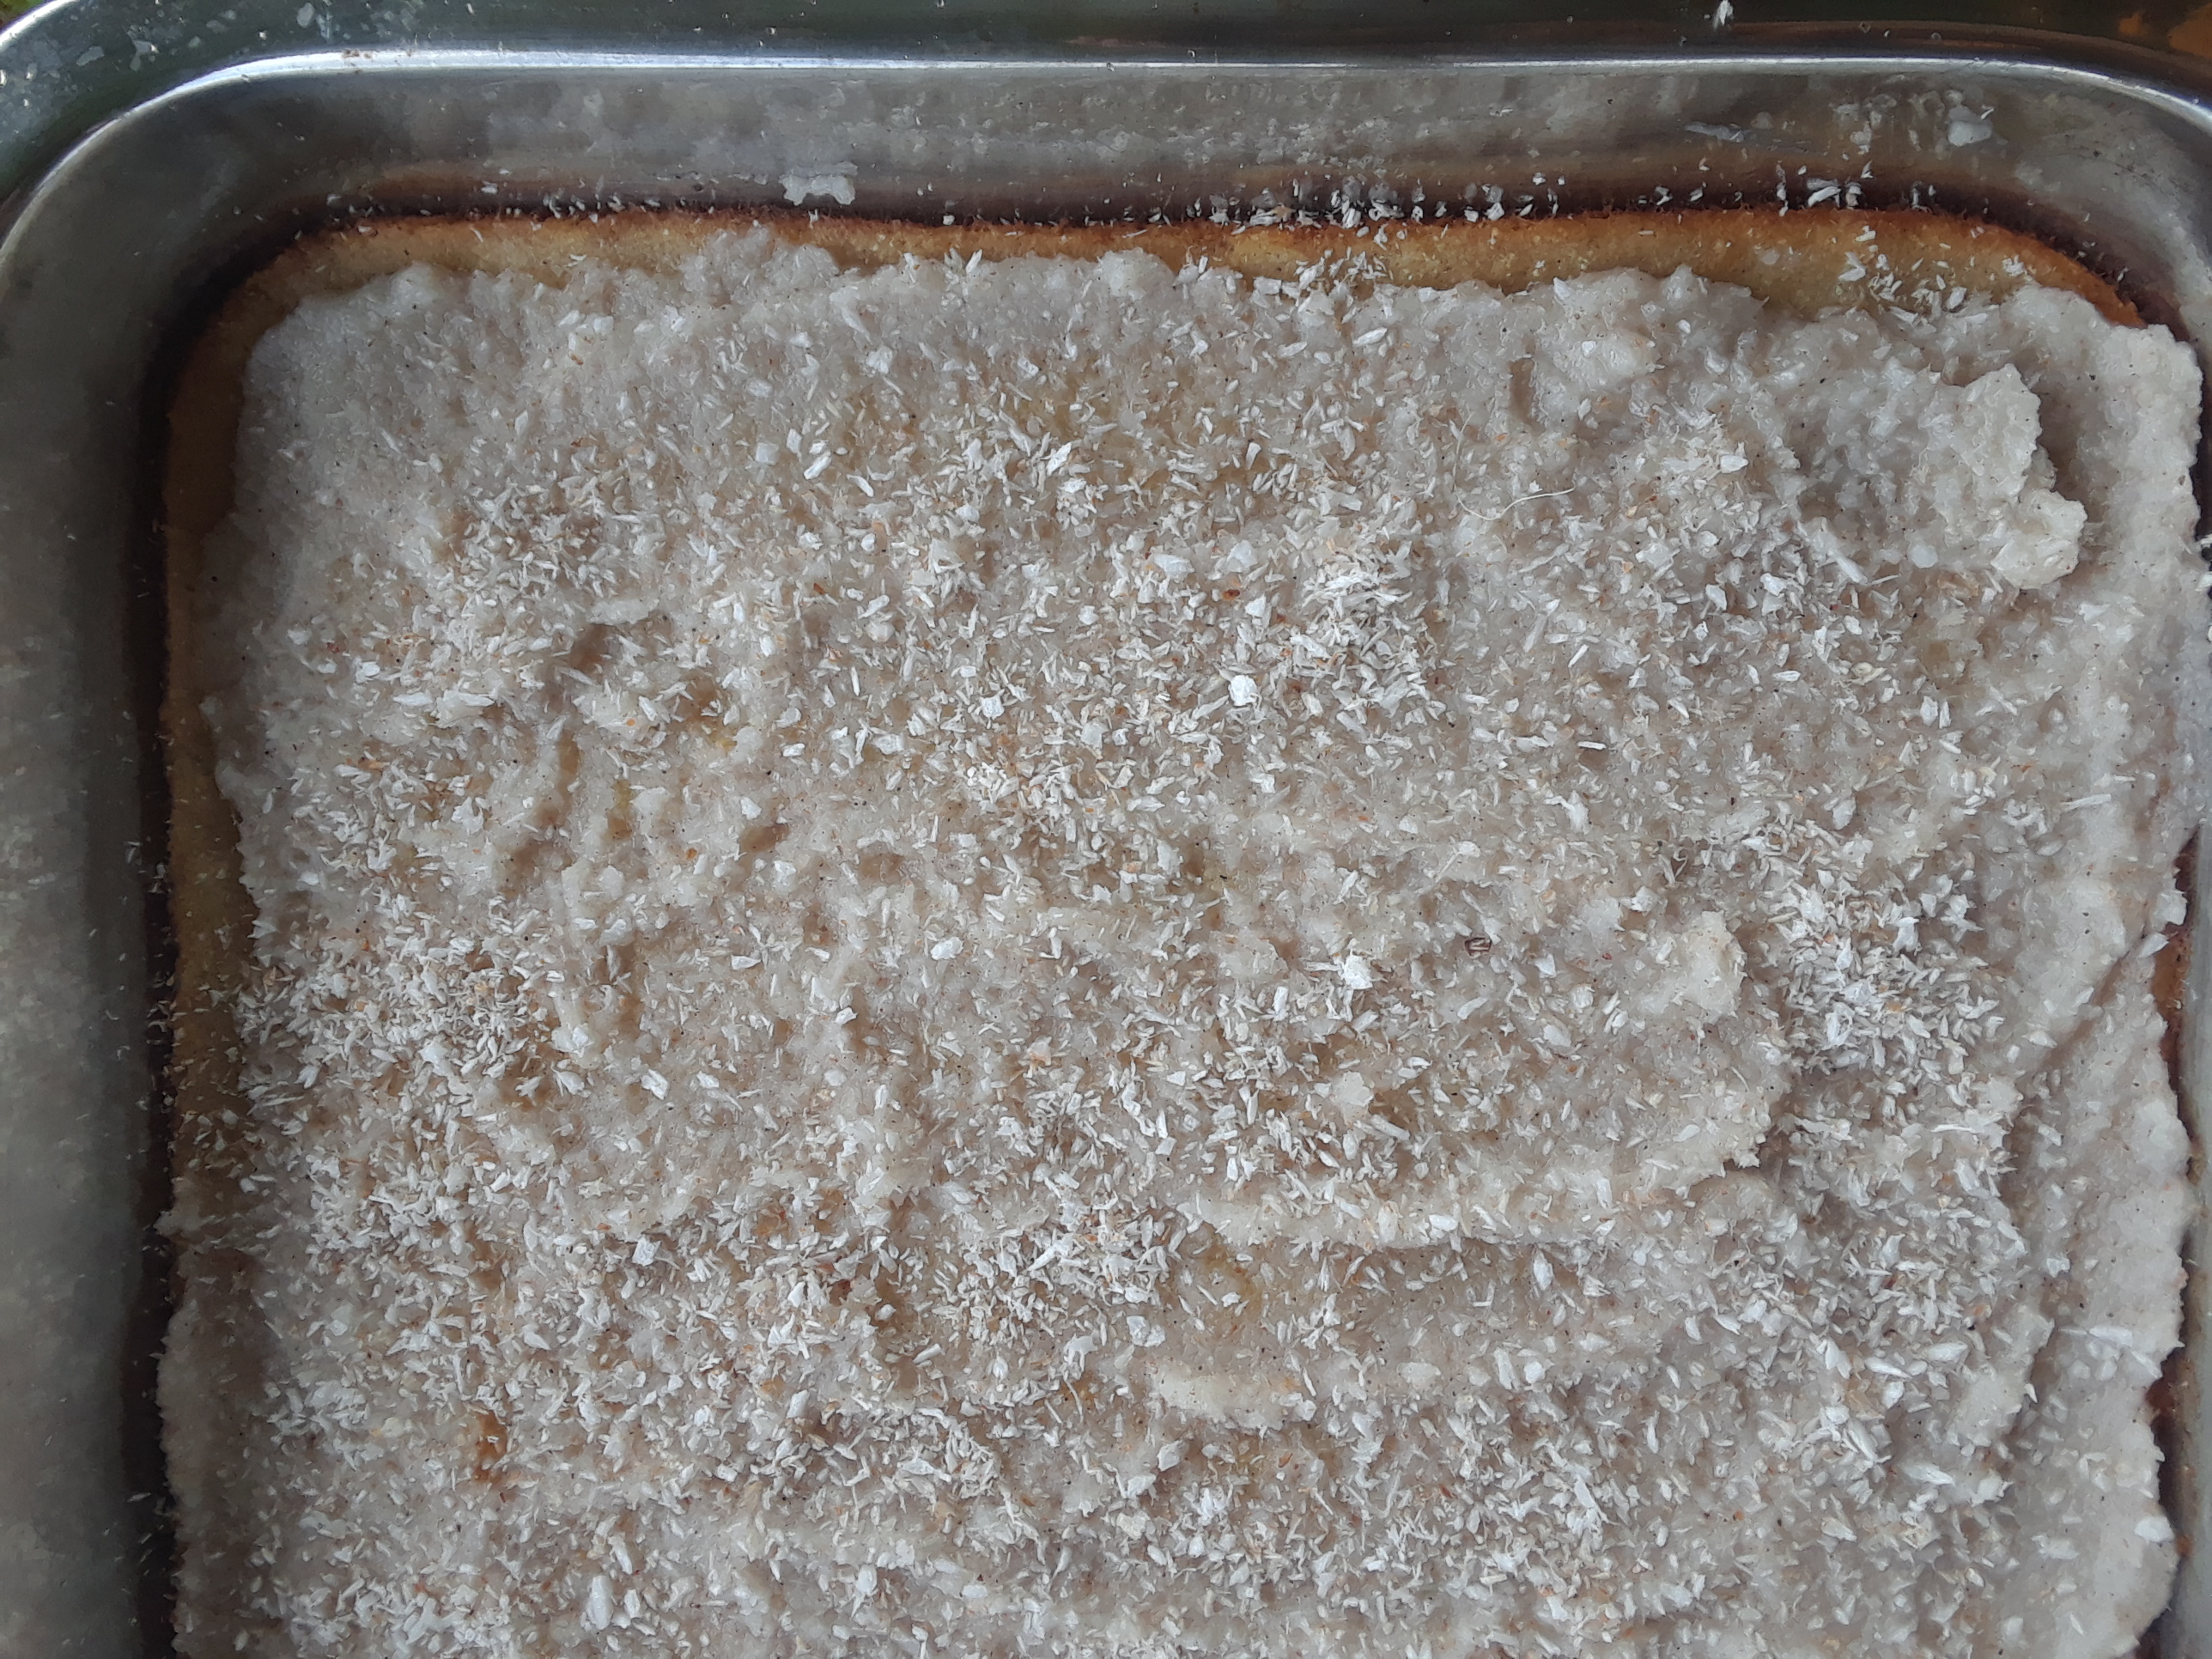
- Grease a shallow baking pan and bake for 30-40 minutes at 350 degrees
- Allow to cool and then frost with remainder of condensed milk
And there you have it! Once all the pieces are in place it does come together quickly. The longest parts are growing the cassava and waiting for the pot of condense milk to condense (stirring frequently so it doesn’t burn!)
Final notes:
Store in a cool place. If refrigerated, the cake comes a bit hard and dry, but this can be remedied by pan frying it in butter for a few minutes before eating… If you have left-over condensed milk, definitely store in the fridge as it ferments rather quickly left on the counter.
I hope you try out this recipe in one form or another. Or seek out the amazing cassava plant to cultivate and propagate!
Thanks for reading, dear reader! ALOHA,
Suze
ps. For more related pictures see KNF Farm gallery 🙂